DIY Diffuser Ornaments

There’s something extra special about holiday traditions that bring scent, nature, and handmade beauty together. These DIY diffuser ornaments are a simple way to fill your space with the aroma of essential oils—without any electricity or flame.
Made with just a few pantry ingredients, these ornaments are perfect for crafting with kids, gifting to friends, or adding a natural touch to your Christmas tree.
We made these last year and they were such a HIT, I had to make them again this year!
They are so easy to make and don’t require many ingredients, so I wanted to share them with you as well. Here is my homemade diffuser ornaments recipe.
Why Diffuser Ornaments?
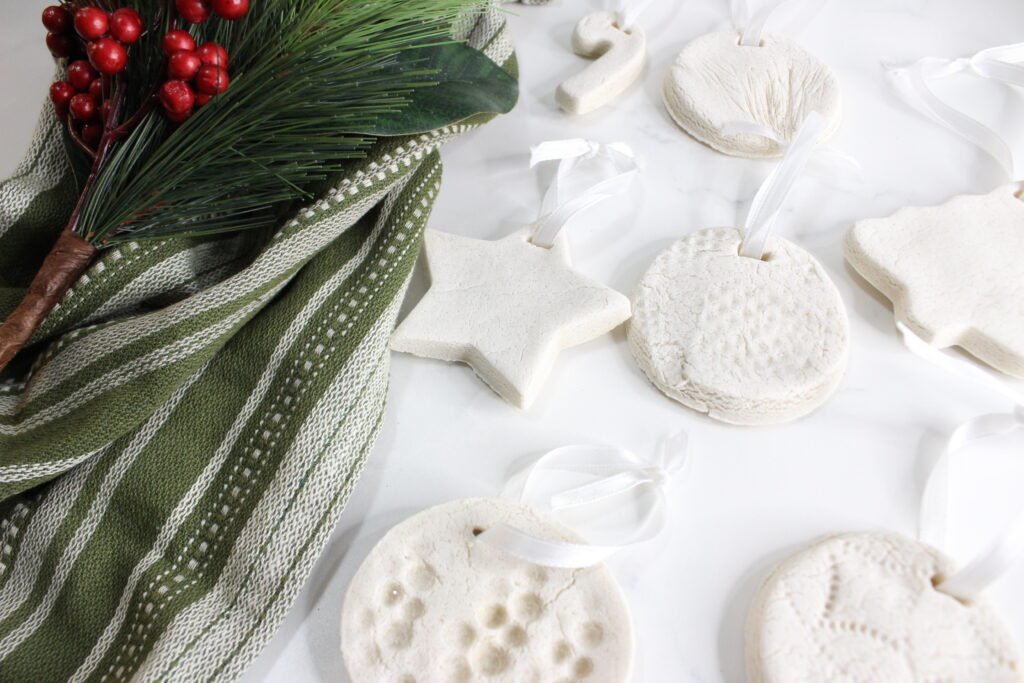
These salt dough ornaments aren’t just decorative, they’re functional aromatherapy tools. Once dry, they act like clay diffusers, absorbing and slowly releasing the scent of essential oils.
It’s a gentle, passive way to infuse your space with grounding, calming, or festive herbal scents. We mainly did Christmas scents and pine needle essential oil to make our tree smell real!
Depending on the essential oils you use, you can turn them into:
- Calming Ornaments: Add lavender or cedarwood to help soften the holiday stress.
- Energizing Ornaments: Use citrus oils like orange or grapefruit to brighten the mood.
- Immune-Supporting Ornaments: Try pine, eucalyptus, or rosemary to bring in those winter forest vibes and help clear the air.
They also double as air fresheners, perfect for closets, drawers, or cars long after the holidays are over.
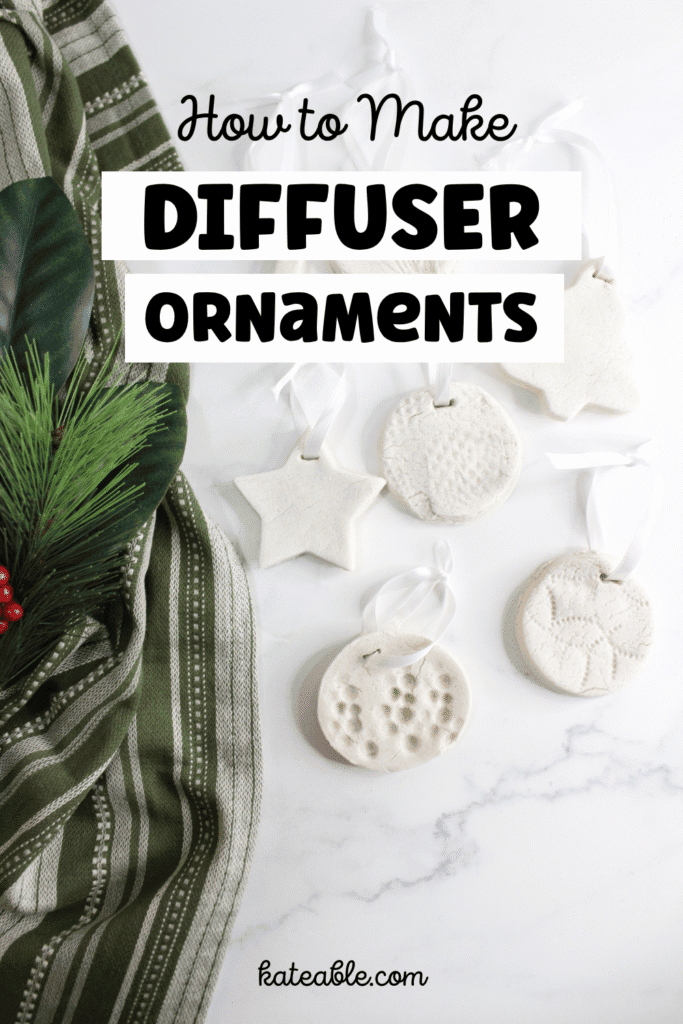
Pin This Post For Later:
Some of these links are affiliate links meaning if you purchase from these links, I will earn a commission at no extra cost to you. Everything I share is my own opinions and things I personally use and love. You can learn more by reviewing my disclosure. As an Amazon affiliate, I earn from qualifying purchases.
How to Make DIY Diffuser Ornaments
This made around 18 ornaments in total for me but will depend on your cookie cutters.
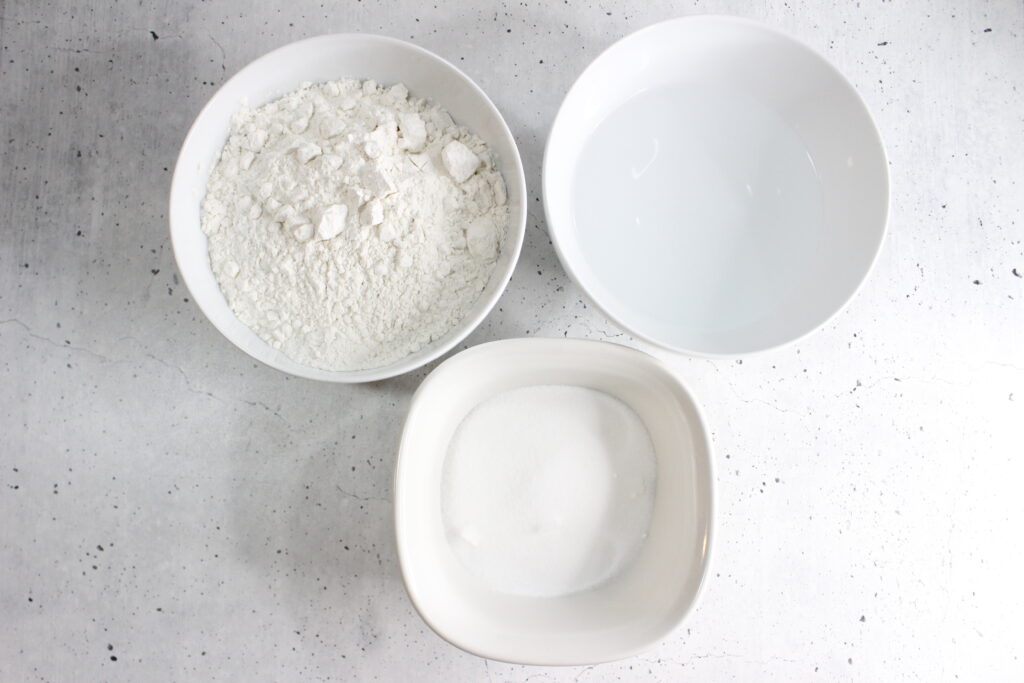
Ingredients
- 2 cups flour
- ½ cup salt
- ¾ cup + 2 tablespoons warm water
- Ribbon
- Cookie cutters
Instructions
In a bowl, mix together the flour and salt.
Slowly add in the warm water and stir until the dough begins to form.

Knead the dough with your hands for 8-10 minutes, until it becomes soft and pliable.
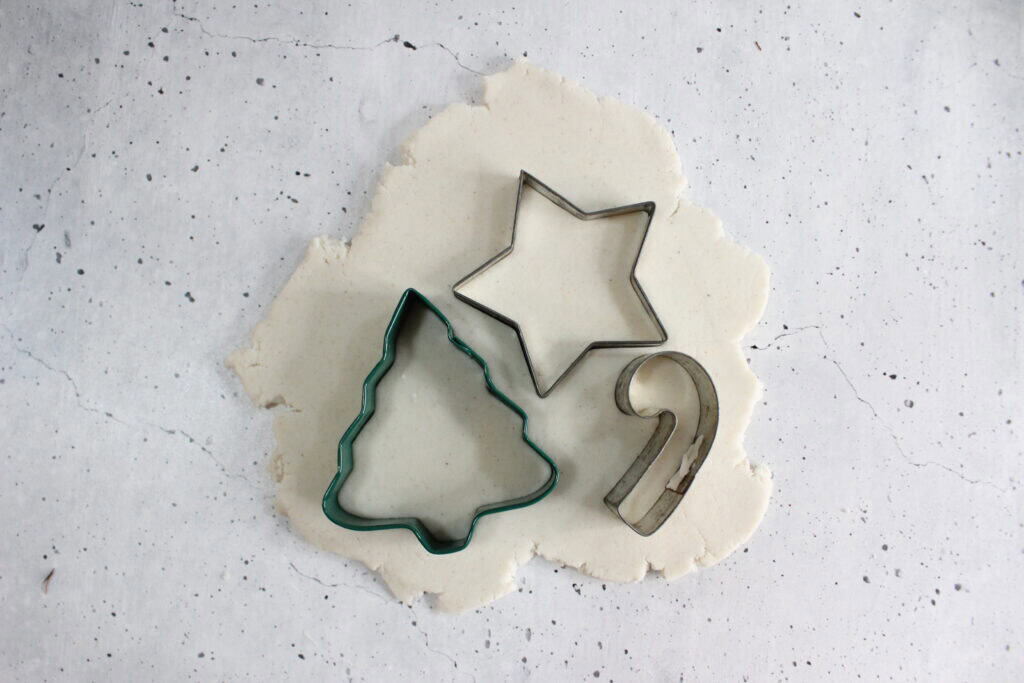
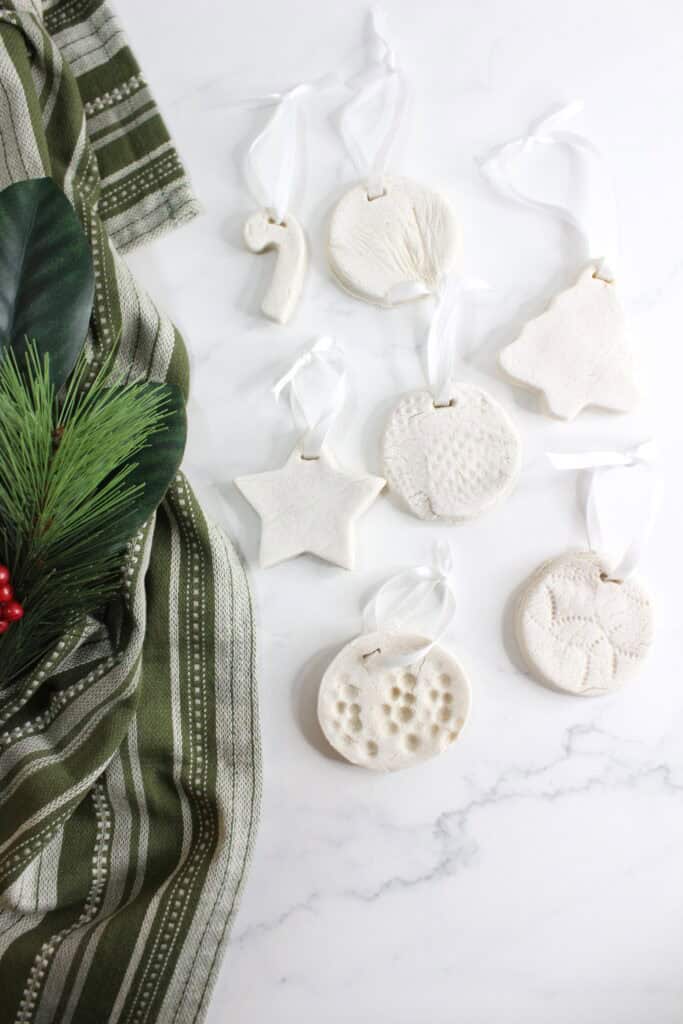
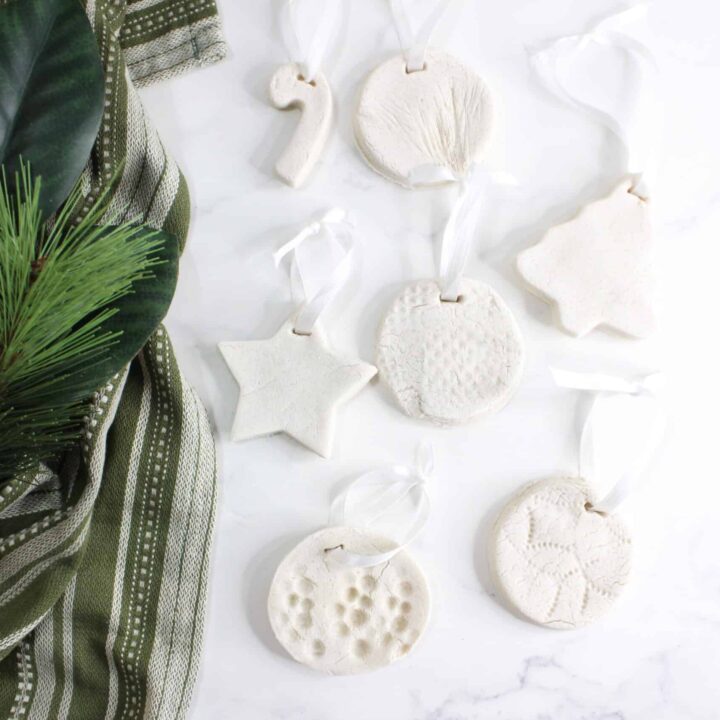
Roll out the dough to about ¼-inch thickness. Use cookie cutters to make shapes, or a mason jar for simple circles.
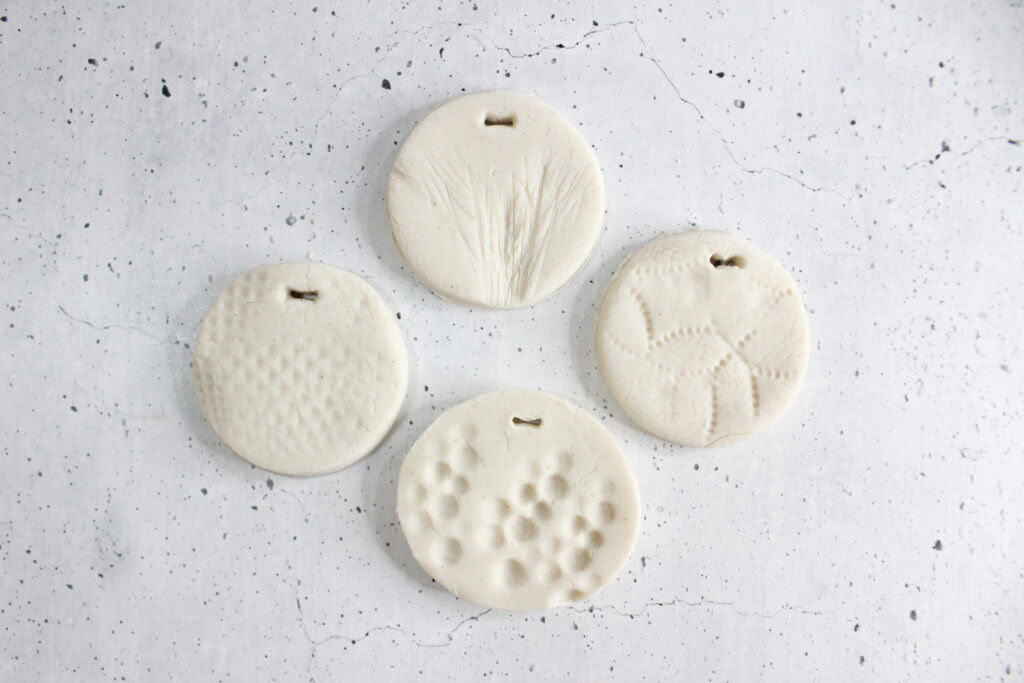
Press pine leaves, rosemary sprigs, or other botanicals into the dough for beautiful nature-inspired imprints.
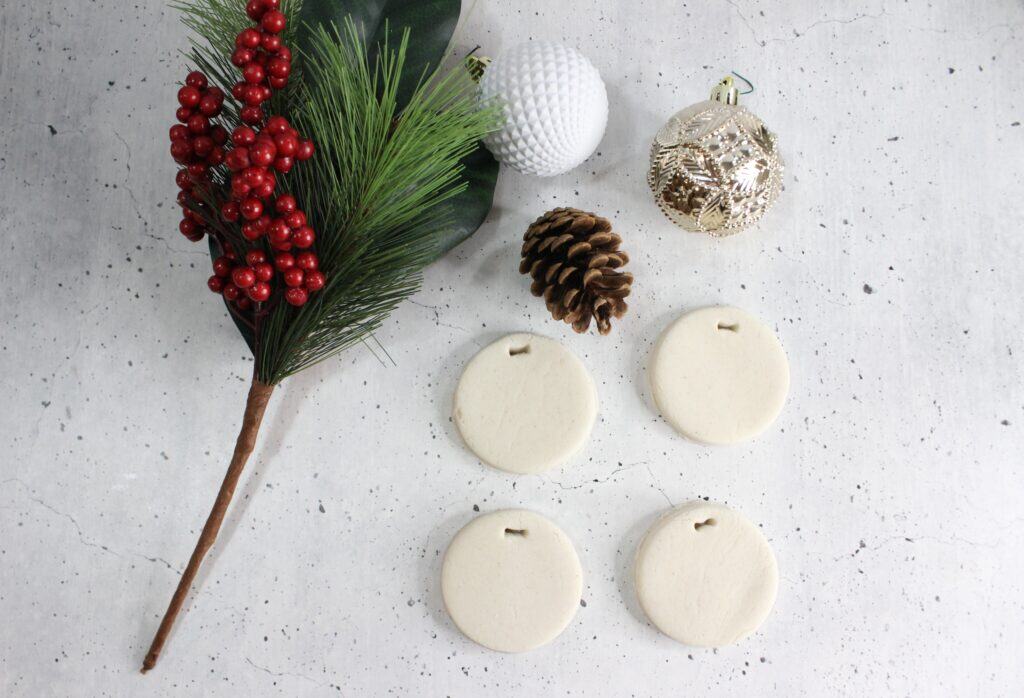
Use a skewer or straw to poke a hole in the top of each ornament for the ribbon.
Lay flat on parchment paper and let air dry completely, this may take 1 to 3 days depending on the humidity.
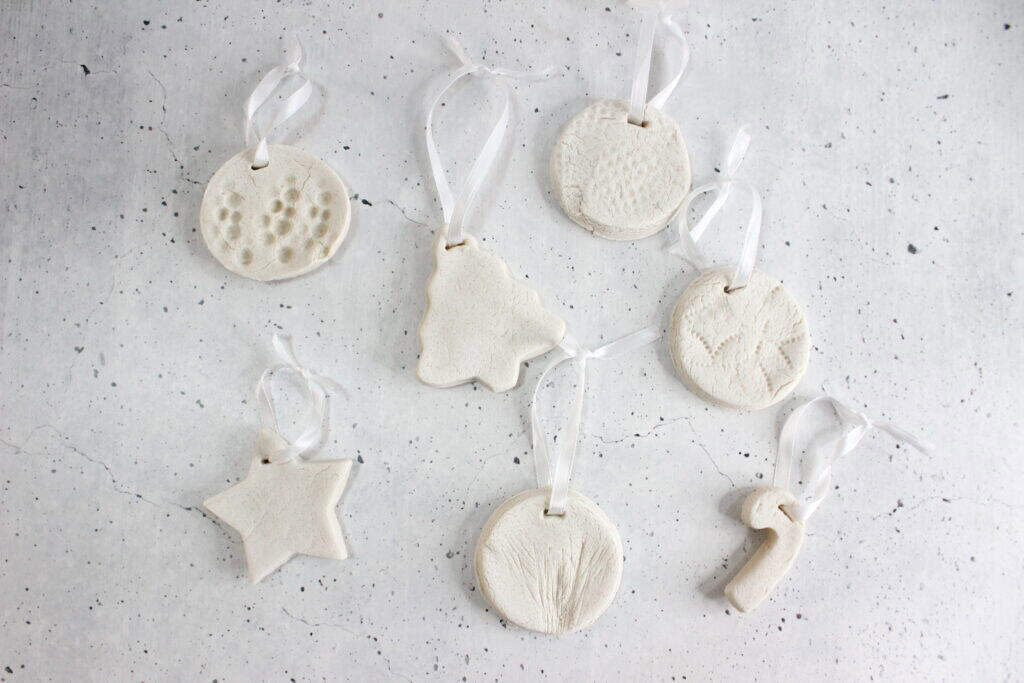
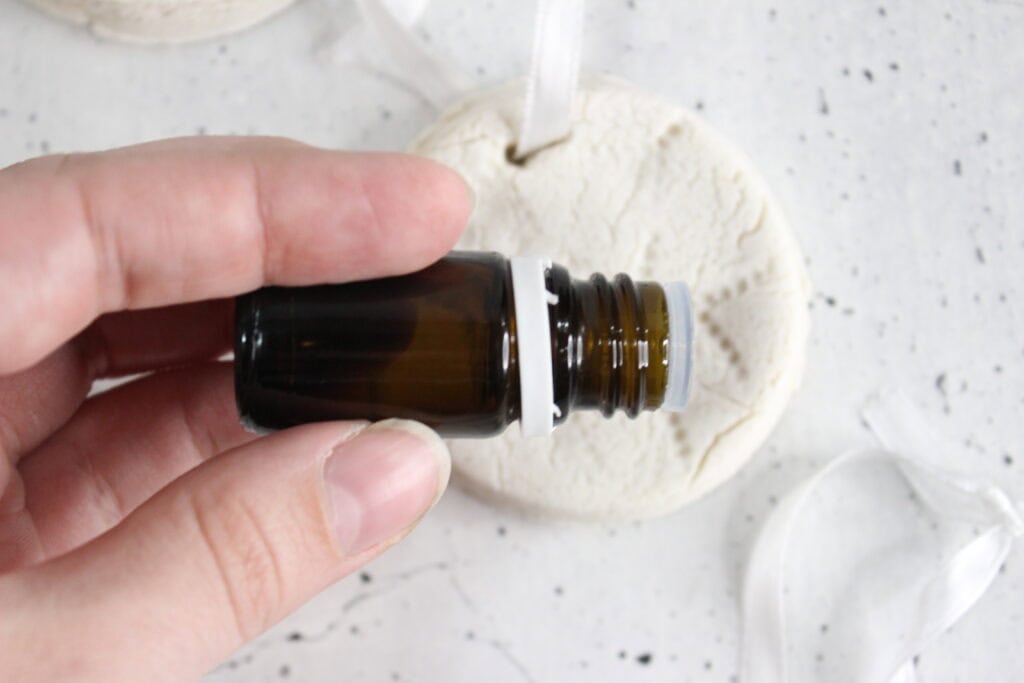
Once dry, thread the ribbon and add a few drops of essential oil to the ornament surface. Hang and enjoy!
Notes
- Painting: You can paint them once dry, just avoid covering the area where you’ll apply essential oils, as the paint can block absorption. This year we are going to some watercolor on ours to brighten them up!
- Essential Oil Tips: Refresh the scent as needed by adding more drops. One or two drops per ornament goes a long way. I usually change mine daily or every two days.
- Decor Ideas: Press herbs, evergreen sprigs, or spices like cloves or cinnamon sticks into the surface for a rustic holiday feel. You don’t have to, but it really makes a difference!
DIY Diffuser Ornaments
Materials
- 2 cups flour
- ½ cup salt
- ¾ cup + 2 tablespoons warm water
- Ribbon
- Cookie cutters
Instructions
- In a bowl, mix together the flour and salt.
- Slowly add in the warm water and stir until the dough begins to form.
- Knead the dough with your hands for 8-10 minutes, until it becomes soft and pliable.
- Roll out the dough to about ¼-inch thickness. Use cookie cutters to make shapes, or a mason jar for simple circles.
- Press pine leaves, rosemary sprigs, or other botanicals into the dough for beautiful nature-inspired imprints.
- Use a skewer or straw to poke a hole in the top of each ornament for the ribbon.
- Lay flat on parchment paper and let air dry completely, this may take 1 to 3 days depending on the humidity.
- Once dry, thread the ribbon and add a few drops of essential oil to the ornament surface. Hang and enjoy!
Notes
- Painting: You can paint them once dry, just avoid covering the area where you’ll apply essential oils, as the paint can block absorption. This year we are going to some watercolor on ours to brighten them up!
- Essential Oil Tips: Refresh the scent as needed by adding more drops. One or two drops per ornament goes a long way. I usually change mine daily or every two days.
- Decor Ideas: Press herbs, evergreen sprigs, or spices like cloves or cinnamon sticks into the surface for a rustic holiday feel. You don't have to, but it really makes a difference!
Final Thoughts
These diffuser ornaments are simple to make, family-friendly, and add a natural charm to any space. Whether you’re decorating your own tree or gifting a little handmade wellness to a loved one, these ornaments are perfect!
Craft slowly, breathe deeply, and let the season be filled with presence over perfection! Make sure to make them with your kids or grandkids too; it really is so much fun!
More Christmas Content:
- Christmas Sweater Bath Bomb
- Pine Needle Candle
- Christmas Soap
- DIY Christmas Gifts to Make
- Christmas Simmer Pot Kit
- Pine Simmer Pot
- DIY Diffuser Ornaments
- Christmas Room Sprays
- Christmas Tree Bath Bombs
- Snowflake Sugar Scrub Bars
- Gingerbread Sugar Scrub
- Christmas Candle
- Sugar Cookie Lip Scrub
- Sugar Cookie Lip Balm
- Winter Hand Cream
- Holiday Lip Scrub
- Candy Cane Lip Balm
- Candy Cane Sugar Scrub
- Candy Cane Bath Bomb
- Gingerbread Body Butter
- Christmas Foaming Hand Soap
- Gingerbread Soap
- Candy Cane Bath Salts
- Christmas Roll On Perfumes
- Christmas Snowflake Candles
- Chocolate Lip Balm