DIY Wood Polish

Learn how to make wood polish at home with simple, natural ingredients.
Wooden furniture, floors, and accessories are timeless, but they do need care to maintain their natural beauty. Instead of using store-bought products filled with chemicals, why not create your own wood polish at home?
Once I learned how easy it was to make my own, I knew I had to give it a try. Now I can’t go back!
DIY wood polish is not only easy to make but also a sustainable and natural way to protect your wood surfaces from everyday wear and tear.
In this post, I will walk you through simple steps to make your own wood polish. Ready to give your wood the shine it deserves? Let’s make this simple, all-natural recipe for homemade wood polish!
Why Choose DIY Wood Polish?
DIY wood polish is an excellent choice for those who want to protect their wooden surfaces while keeping things natural.
Commercial wood polishes often contain chemicals that can harm the environment and your health, but homemade wood polish offers a chemical-free solution.
Here are a few other benefits:
- Eco-friendly & Chemical-free: Making your own polish means no toxic chemicals and an eco-friendly approach to cleaning and maintaining wood.
- Affordable & Cost-effective: Instead of spending money on expensive commercial products, you only need a few basic ingredients, which are more affordable in the long run.
- Customizable: You can create a wood polish that suits your personal preferences, especially when it comes to fragrance. Essential oils like lavender, lemon, or cedarwood can add a unique touch to your polish.
Using natural oils and beeswax also helps nourish and protect your wood. While many store-bought polishes merely give a temporary shine, homemade wood polish nourishes the surface, bringing out its natural beauty over time.
Pin This Post For Later:
Some of these links are affiliate links meaning if you purchase from these links, I will earn a commission at no extra cost to you. Everything I share is my own opinions and things I personally use and love. You can learn more by reviewing my disclosure. As an Amazon affiliate, I earn from qualifying purchases.
Ingredients for Homemade Wood Polish
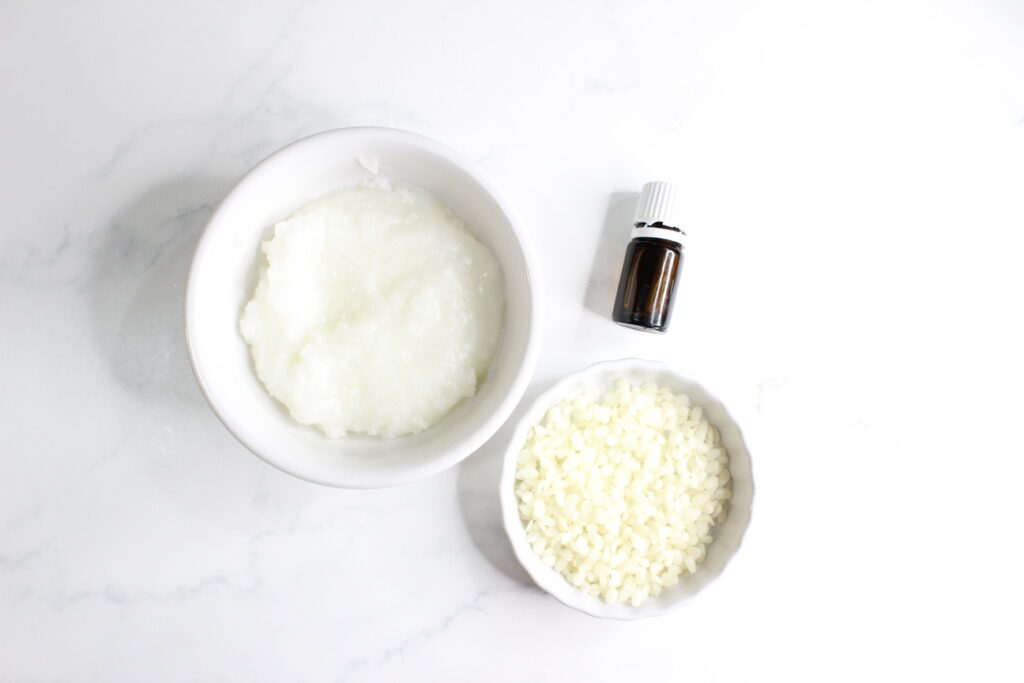
This wood polish recipe requires only a few simple ingredients, each offering specific benefits to your wood surfaces:
- 2 tablespoons beeswax
- 6 tablespoons coconut oil
- 15 drops of essential oils (optional, I like cedarwood)
Step-by-Step Instructions for Making DIY Wood Polish
Add the beeswax and coconut oil in a glass container and put in the microwave, and heat it in 30-second intervals. Stir the mixture in between each interval to ensure that the beeswax and coconut oil melt completely and evenly.
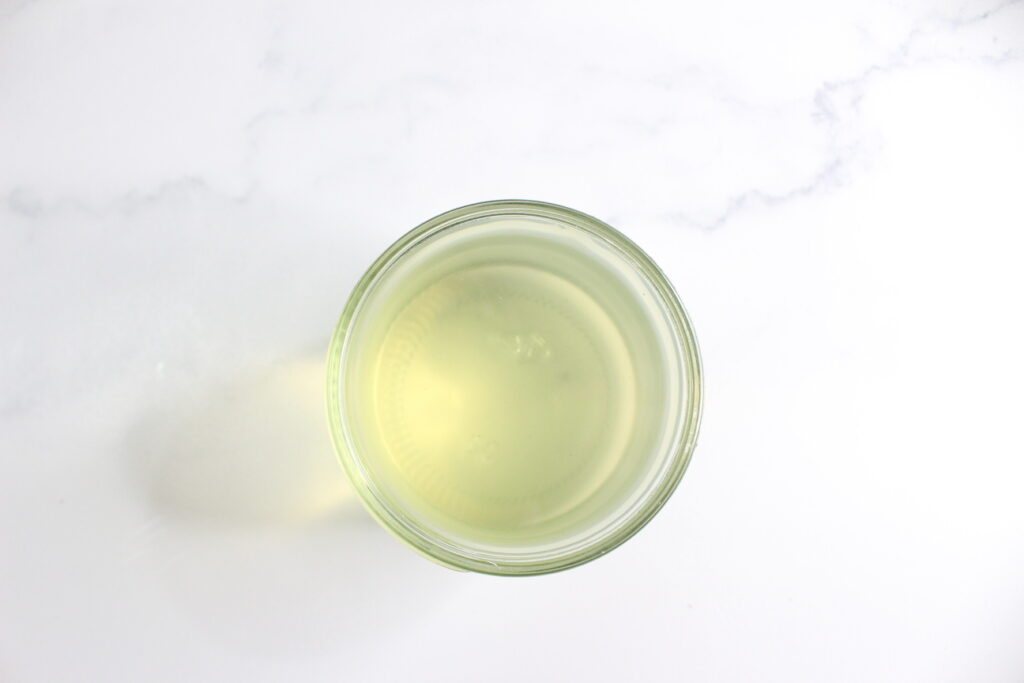
Warning: Don’t rush this step. Heating too quickly or for too long can result in uneven melting or burnt ingredients.
Once the beeswax and coconut oil are fully melted and combined, remove the container from the microwave and let it cool for a minute. Add about 15 drops of your preferred essential oil.
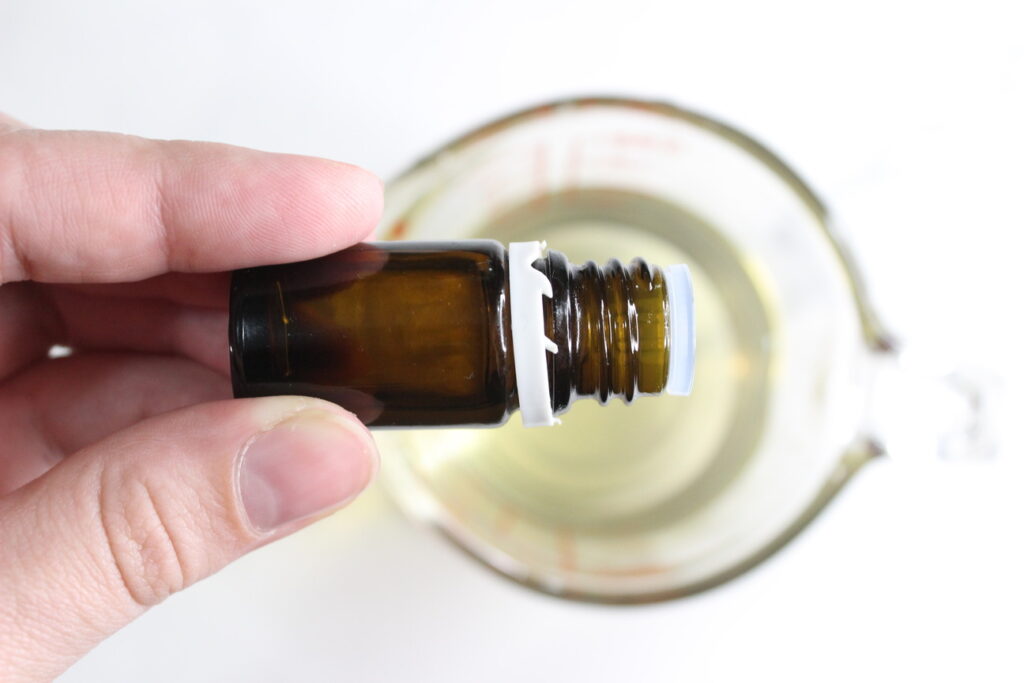
Tip: Essential oils like lavender and lemon are popular for wood polish, but you can get creative with different scents to suit your taste!
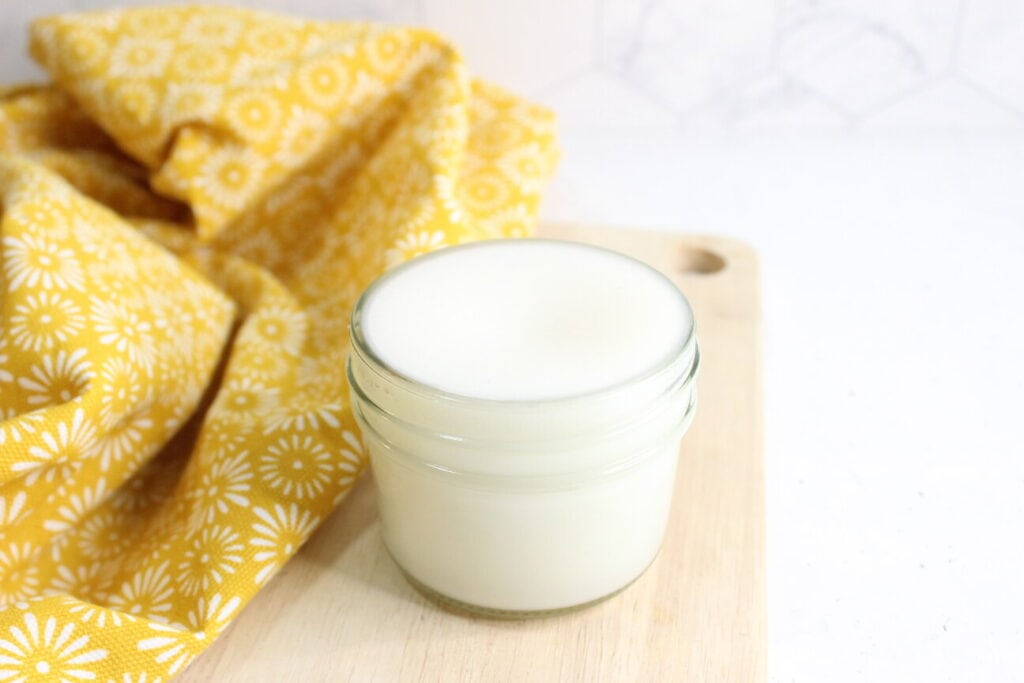
After mixing the essential oils, carefully pour the mixture into a container or jar for storage. Let the wood polish cool and harden at room temperature. This will typically take a couple of hours.
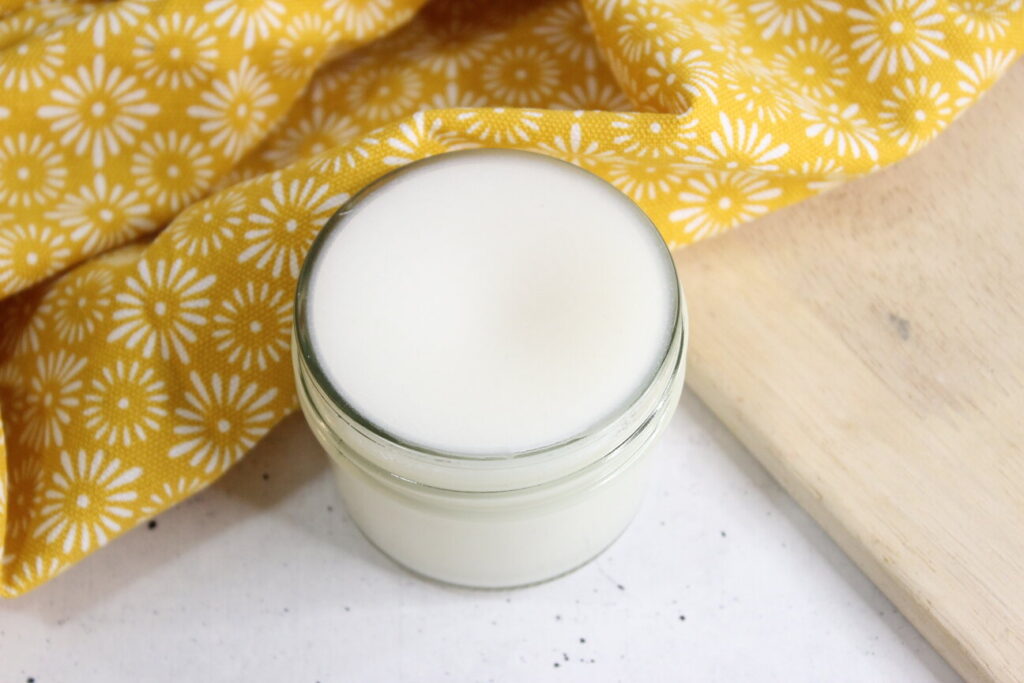
Once hardened, your DIY wood polish is ready for use! It should have a smooth, creamy texture that makes it easy to apply.
How to Use Homemade Wood Polish on Different Surfaces
Now that you’ve made your DIY wood polish, it’s time to put it to use! Here’s how to apply it on various wood surfaces for the best results:
- Wood Furniture: To polish wooden furniture, use a soft cloth or microfiber towel. Apply a small amount of the homemade wood polish to the cloth and rub it into the wood in circular motions. This will help nourish the wood and restore its shine.
- Tip: For a glossy finish, buff the surface gently with a clean, dry cloth after applying the polish.
- Wood Floors: When polishing wood floors, use a clean mop or soft cloth. Work in small sections, applying a thin layer of polish and then buffing the surface with a dry cloth.
- Warning: Always test a small, hidden area of the floor first to ensure compatibility.
- Wooden Kitchen Items (Cabinets, Cutting Boards, etc.): Wooden cutting boards or kitchen cabinets benefit from this polish as it helps prevent cracking and keeps the wood looking fresh. Apply the polish sparingly to avoid a greasy residue.
- Leather and Other Wood-Like Surfaces: This wood polish can also work on leather furniture or other wood-like surfaces, though you’ll want to test it first. The ingredients in the polish can help condition leather, making it look supple and smooth.

Mistakes to Avoid When Making and Using Wood Polish
While making and using DIY wood polish is simple, there are some common mistakes you should avoid:
- Using too much oil: It’s easy to get carried away with the amount of coconut oil you use, but too much can leave your wood greasy and prone to dust buildup. Stick to the recommended ratio of beeswax to coconut oil.
- Incorrect ratios of ingredients: Beeswax and coconut oil work together to provide the right consistency. If you use too much beeswax, the polish may be too hard, while too little can make it too soft and sticky.
- Not testing first: Always test your homemade wood polish on a small, inconspicuous area of the wood before applying it to the entire surface. Some woods, especially antiques or finishes, may react differently to the polish.
- Using harsh cleaners before polishing: It’s essential to clean your wood surfaces gently before applying polish. Harsh chemicals or abrasive scrubbing can damage the wood, making it more susceptible to staining or discoloration.
Additional Tips for Maintaining Wood Surfaces
- Regular Cleaning: To keep wood surfaces looking fresh, make a habit of cleaning them regularly with a soft cloth. Dusting frequently prevents dirt buildup, which can cause scratches over time.
- Avoiding Water Damage: Water can damage wood quickly. Always wipe spills immediately to avoid watermarks. When polishing, ensure that the surface is dry before applying any polish.
- Using Coasters and Placemats: To avoid stains and scratches, use coasters for drinks and placemats for hot dishes. This simple habit can keep your wood furniture looking beautiful for years.
DIY Wood Polish
Materials
- 2 tablespoons beeswax
- 6 tablespoons coconut oil
- 15 drops of essential oils (optional)
Instructions
- Add your coconut oil and beeswax into a glass container.
- Slowly heat in the microwave, in 30 second intervals. Stir in between.
- Once all melted, add in your drops of essential oils if using.
- Pour into a container and let it harden.
Notes
Essential oils are optional.
Learn how to easily switch out your products with more natural solutions with this Natural Living Made Easy Freebie!
Final Thoughts
Making your own wood polish at home is not only a satisfying and eco-friendly project, but it also provides an affordable and natural way to care for your wooden furniture and surfaces.
By using simple, natural ingredients like beeswax and coconut oil, you can create a wood polish that’s safe, effective and smells great.
So, grab your ingredients, get mixing, and start polishing! Your wood will thank you for it.
Popular Cleaning Recipes


Want more DIY cleaners? Check out these: