DIY Easter Bath Bombs

I don’t know about you, but Easter baskets slowly turned into a mix of candy, plastic toys, and things that get forgotten (or broken) a week later.
A couple of years ago, I started slipping in a few handmade things instead. Something simple, but a little more meaningful. And my kids LOVED it. So I kept adding more and more and now, it’s a tradition.
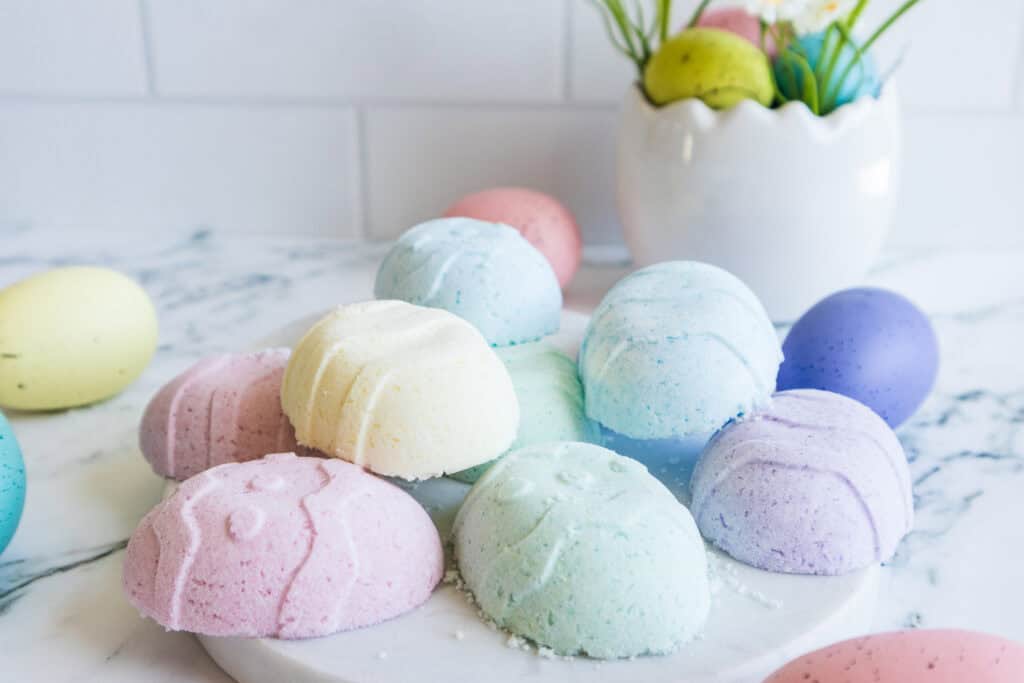
These DIY Easter bath bombs ended up being one of our favorite swaps! They’re colorful, fun for kids, and actually get used and enjoyed. And the best part is, they’re really simple to make!
If you’re new to DIY bath products, this is such an easy place to start. Here is my simple homemade Easter egg bath bombs recipe.
Some of these links are affiliate links meaning if you purchase from these links, I will earn a commission at no extra cost to you. Everything I share is my own opinions and things I personally use and love. You can learn more by reviewing my disclosure. As an Amazon affiliate, I earn from qualifying purchases.
Homemade Easter Egg Bath Bombs
These fizzy little eggs feel like a treat, but they’re made with simple ingredients you probably already recognize. They’re gentle, customizable, and honestly just fun to make.
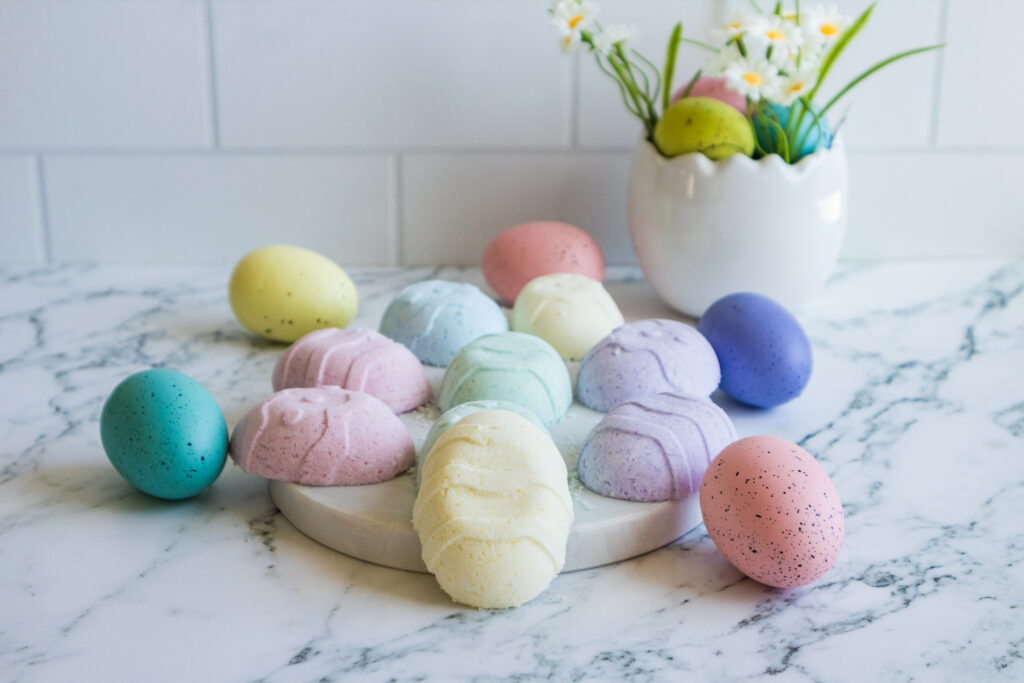
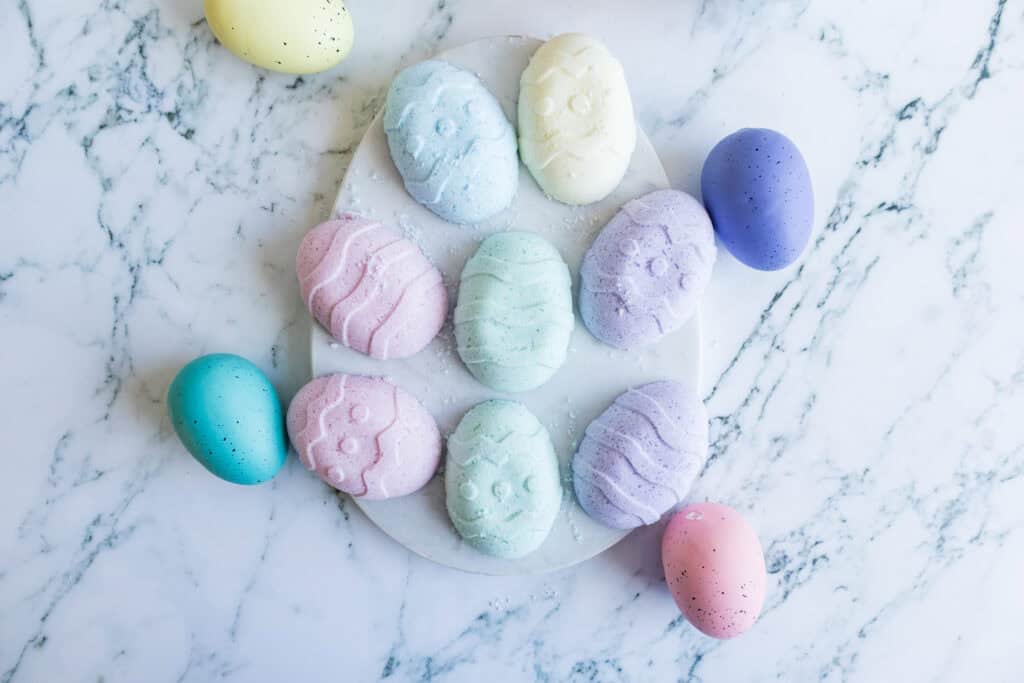
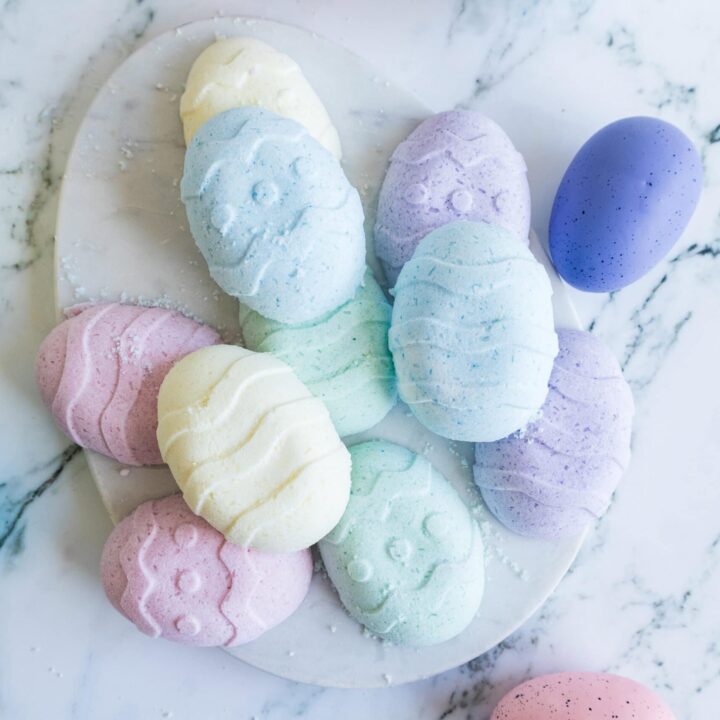
This recipe made about 14 bath bombs for me using a standard egg mold.
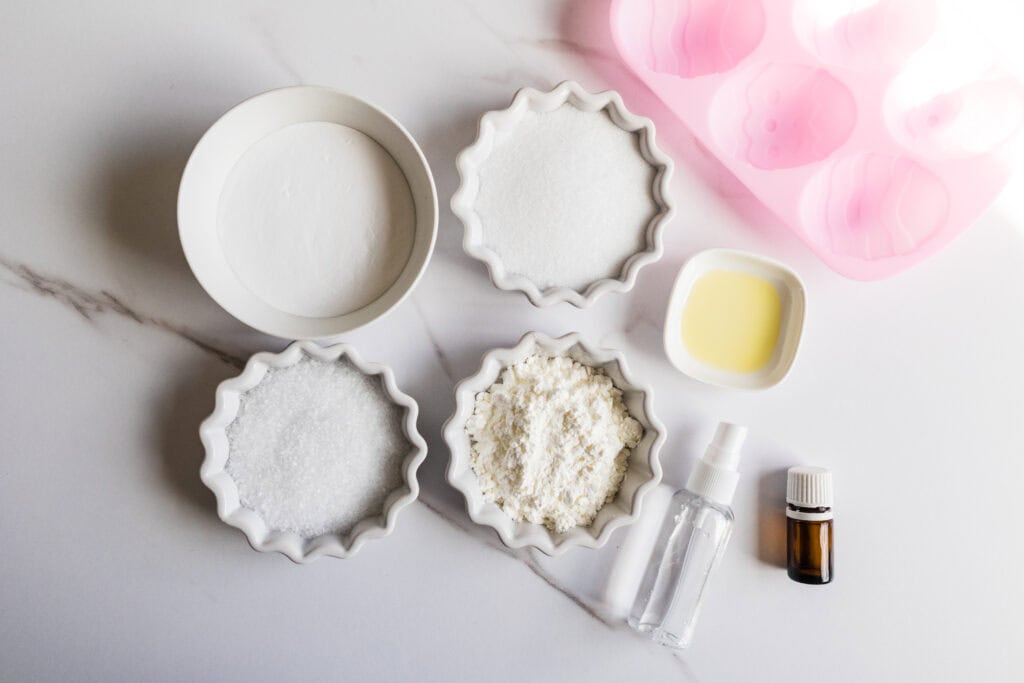
Ingredients
- 1 cup baking soda
- 1/2 cup citric acid
- 1/2 cup Epsom salt
- 1/2 cup cornstarch
- 1 teaspoon almond oil (I used lavender infused oil)
- 16 drops essential oil (I used 8 drops lavender since my kids were using them)
- Mica powder (green, blue, pink, purple, yellow)
- Spray bottle with water
- Easter egg mold
Instructions
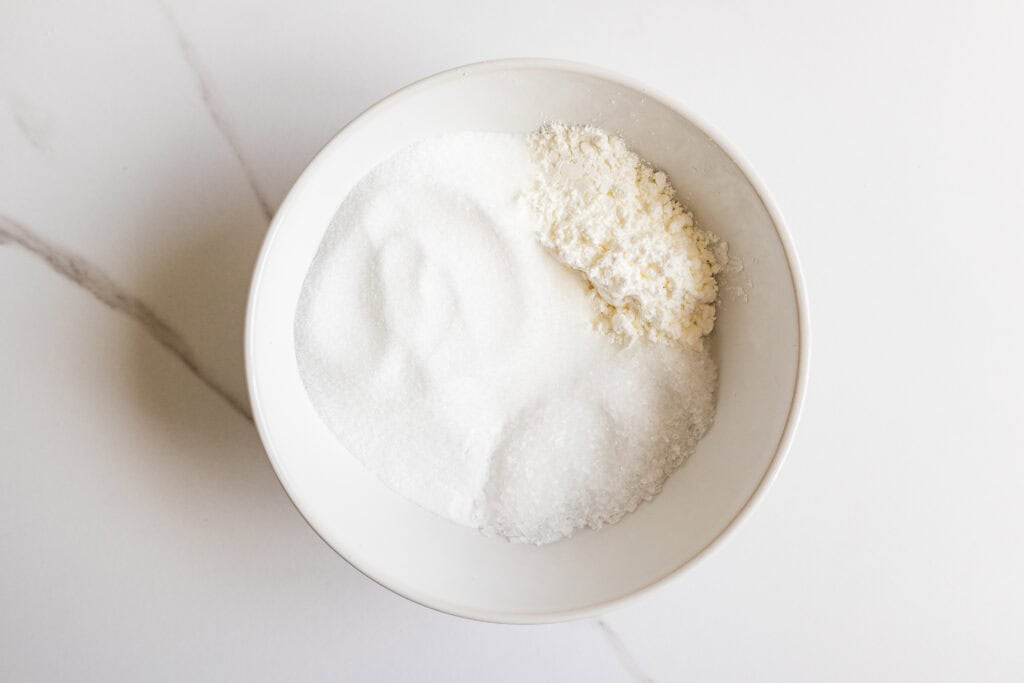
In a large bowl, combine baking soda, citric acid, Epsom salt, and cornstarch. Mix well and break up any clumps.
In a small bowl, mix your essential oil into the almond oil.
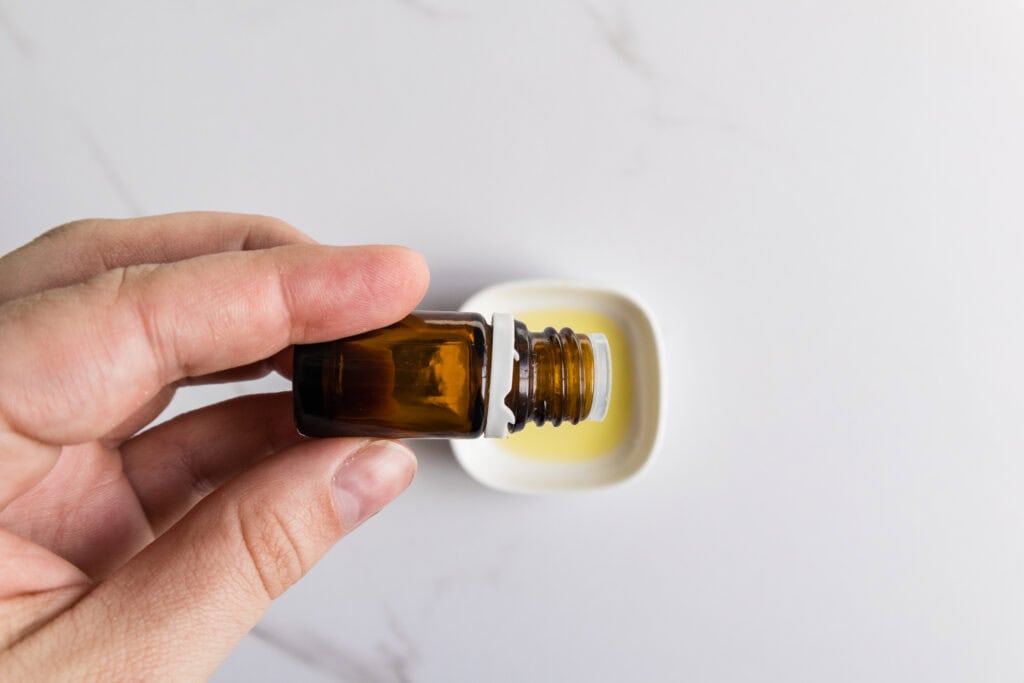
Pour the oil mixture into the dry ingredients and stir until everything is evenly combined.
Lightly spritz the mixture with water, mixing continuously. You’re looking for a damp sand texture that holds together when pressed. Go slowly so it doesn’t start fizzing.
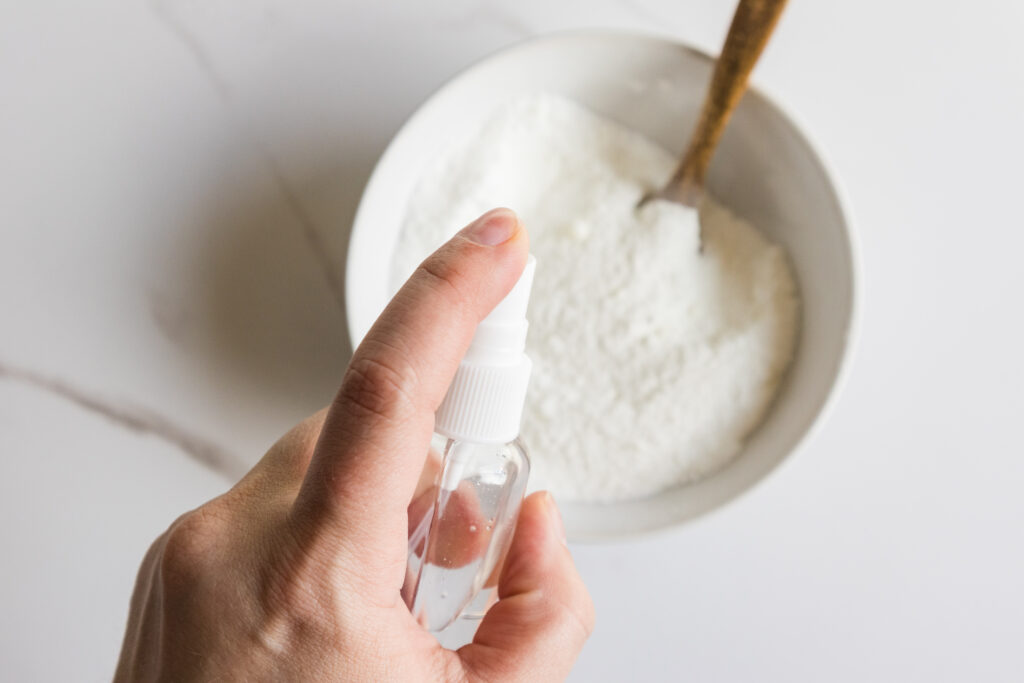
Divide the mixture into separate bowls for each color.
Add mica powder to each bowl and mix until you reach your desired shades.
Pack the mixture tightly into your Easter egg molds. Press firmly so they hold their shape.
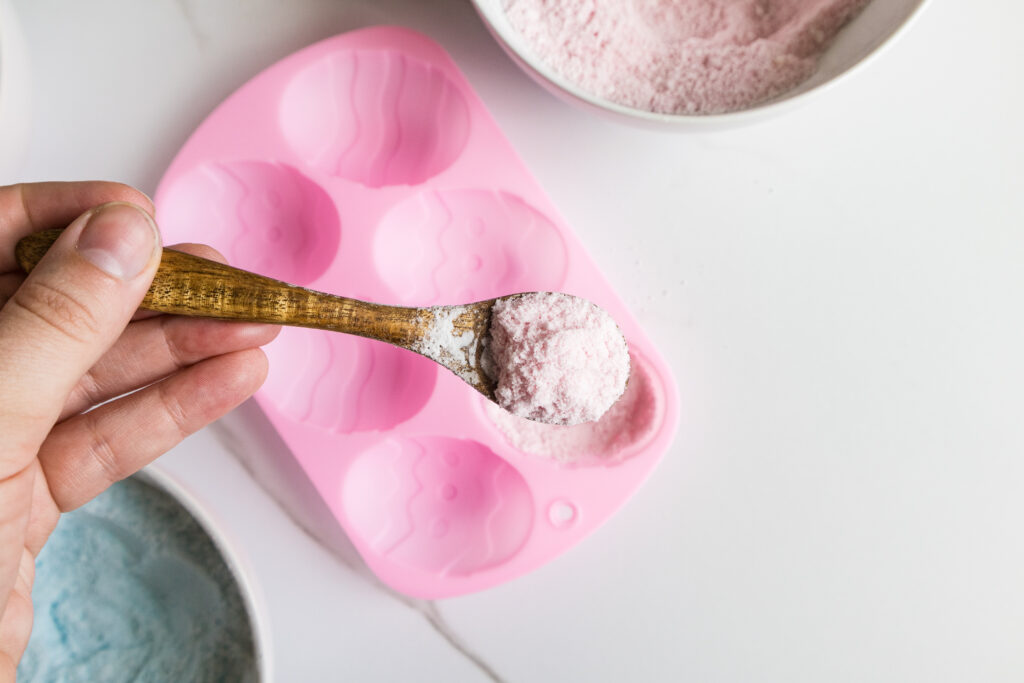
Let them dry for 24 hours before removing from the mold and using.
Notes
- Since this is a bigger batch, it helps to work in sections when adding water so part of the mixture doesn’t dry out while you’re working on another.
- After adding mica powder, check the texture again. Sometimes it needs another light spritz of water before molding. (I know from experience!! I forgot my first batch and they were pretty crumbly and took 3 days to dry out)
- Store in an airtight container to keep them from absorbing moisture in the air.
- Shelf life is about 6 months if kept dry.
- You don’t need anything fancy for scents. Lavender, sweet orange, or a gentle blend is perfect for kids! We like lavender and tangerine to help calm my little ones down, but I use half the essential oil drops!
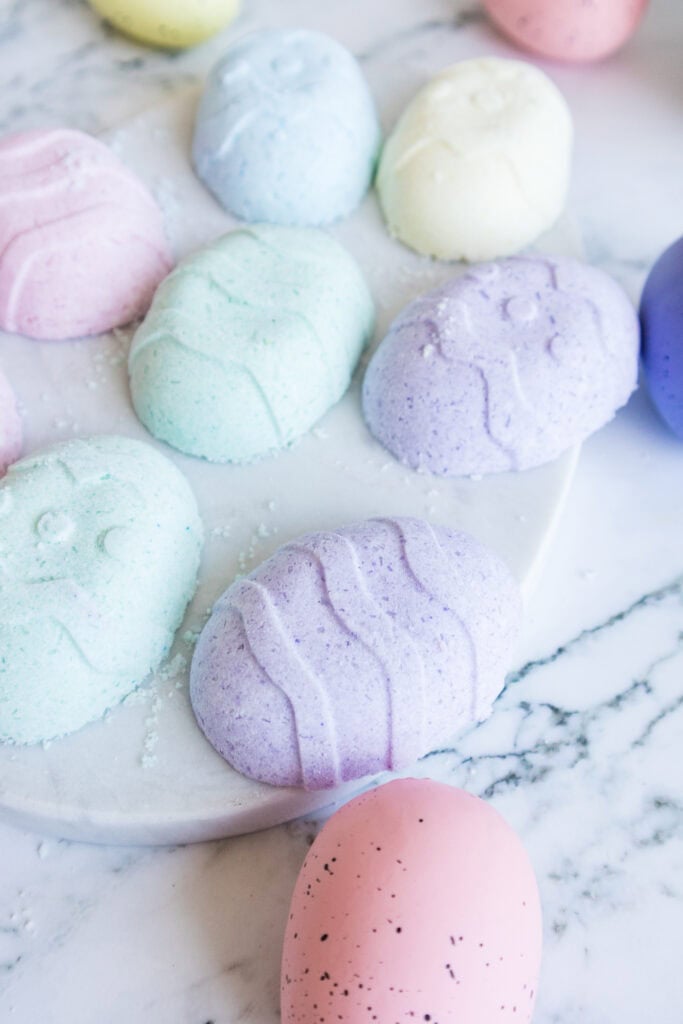
Why These Ingredients Work
If you’ve never made bath bombs before, it helps to know what each ingredient is doing:
- Baking soda + citric acid create that fizzy reaction when they hit water
- Epsom salt can help soothe sore muscles (I reach for it anytime my shoulders are tight after a long day)
- Cornstarch slows down the fizz so it lasts longer
- Almond oil adds a little moisture to your skin
- Essential oils bring in scent and gentle support depending on what you choose
If you’re making these for kids, just be sure to stick with kid-safe essential oils and keep the scent light!
Pin This Post For Later:
Fun Easter Basket Idea
These make such a sweet addition to an Easter basket! You can wrap them in tissue paper or place them in a small box with a ribbon. My kids always love to see these every year!
If you like pairing things together, you could even add:
- A small washcloth
- A wooden scoop
- A DIY Easter bunny soap bar
- A DIY Easter sugar scrub
It turns into a little spa basket without spending much at all 🙂
Easter Egg Bath Bombs
Materials
- 1 cup baking soda
- 1/2 cup citric acid
- 1/2 cup Epsom salt
- 1/2 cup cornstarch
- 1 teaspoon almond oil (I used lavender infused oil)
- 16 drops essential oil (I used 8 drops lavender since my kids were using them)
- Mica powder (green, blue, pink, purple, yellow)
- Spray bottle with water
- Easter egg mold
Instructions
- In a large bowl, combine baking soda, citric acid, Epsom salt, and cornstarch. Mix well and break up any clumps.
- In a small bowl, mix your essential oil into the almond oil. Pour the oil mixture into the dry ingredients and stir until everything is evenly combined.
- Lightly spritz the mixture with water, mixing continuously. You’re looking for a damp sand texture that holds together when pressed. Go slowly so it doesn’t start fizzing.
- Divide the mixture into separate bowls for each color.
- Add mica powder to each bowl and mix until you reach your desired shades.
- Pack the mixture tightly into your Easter egg molds. Press firmly so they hold their shape.
- Let them dry for 24 hours before removing from the mold and using.
Notes
- Since this is a bigger batch, it helps to work in sections when adding water so part of the mixture doesn’t dry out while you’re working on another.
- After adding mica powder, check the texture again. Sometimes it needs another light spritz of water before molding. (I know from experience!! I forgot my first batch and they were pretty crumbly and took 3 days to dry out)
- Store in an airtight container to keep them from absorbing moisture in the air.
- Shelf life is about 6 months if kept dry.
- You don’t need anything fancy for scents. Lavender, sweet orange, or a gentle blend is perfect for kids! We like lavender and tangerine to help calm my little ones down, but I use half the essential oil drops!
Final Thoughts
If you’ve been wanting to try making your own bath products, don’t overthink it. This Easter recipe is one of those recipes that looks fancy but is actually really forgiving!
The first time I made bath bombs, I remember thinking it might be complicated and put it on hold for years. Once I finally was brave enough to try it, I couldn’t believe how simple it actually is!
There’s something really special about watching your kids use something you made with your own hands, or you made together. It creates a memory that will last a lifetime!
If you enjoy recipes like this, you might also love the simple DIY ideas inside my guides. They’re all designed to be beginner-friendly and actually doable at home.
Let me know if you end up making these Easter egg bath bombs! I’m sure you and your kids will love them 🙂