DIY Easter Bunny Soaps

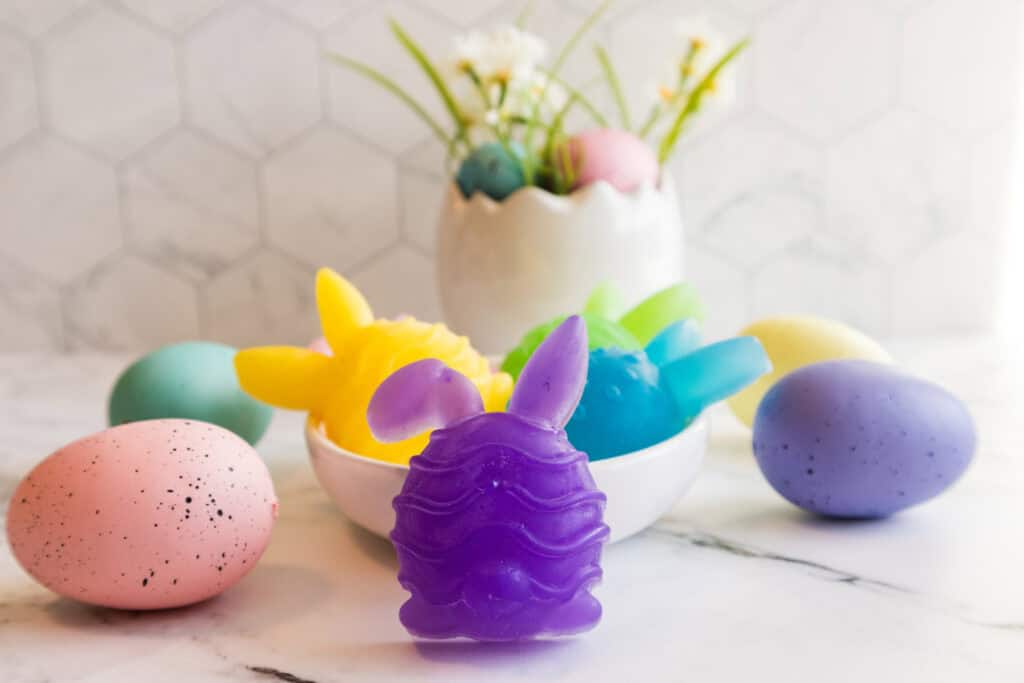
There’s something about little bunny shapes that just makes everything feel like spring!
I remember one year trying to find something simple but fun to add to Easter baskets that wasn’t just more sugar. That’s when I started making these DIY Easter bunny soaps and DIY Easter egg bath bombs. They’re colorful, smell amazing, and kids actually get excited to use them!
And honestly, they’re just as fun to make as they are to give! My kids and I now make them every year together.
If you’ve never made soap before, don’t worry! This homemade Easter soap recipe is one of the easiest ways to start.
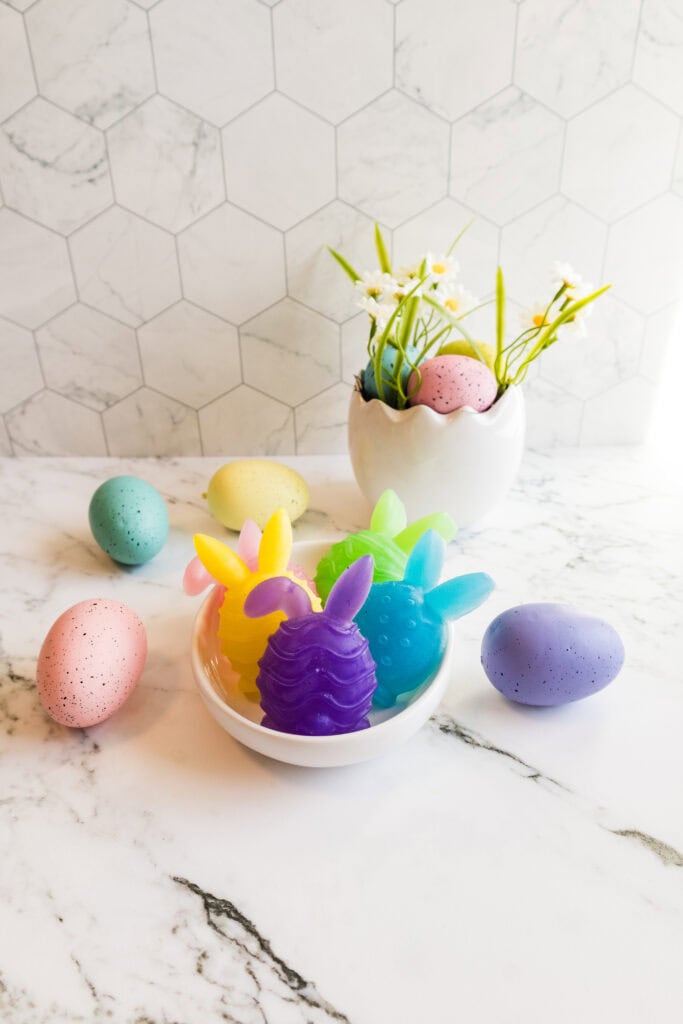
Why This Recipe Works
One of my favorite things about melt and pour soap is how beginner-friendly it is! Here is all it takes to make these DIY easter soaps:
- Glycerin soap base is already made for you, so you’re just melting and customizing it
- Mica powders give those bright, fun spring colors
- Essential oils add a light scent and can make the soap feel a little more special
If you’re making these for kids, I usually stick with something gentle like lavender or sweet orange. Nothing too strong and ALWAYS something kid safe!
Pin This Post For Later:
Some of these links are affiliate links meaning if you purchase from these links, I will earn a commission at no extra cost to you. Everything I share is my own opinions and things I personally use and love. You can learn more by reviewing my disclosure. As an Amazon affiliate, I earn from qualifying purchases.
DIY Easter Bunny Soap Recipe
These sweet little Easter bunny soaps are made with a melt and pour base, so you don’t have to deal with lye or anything complicated. Just melt, mix, and pour.
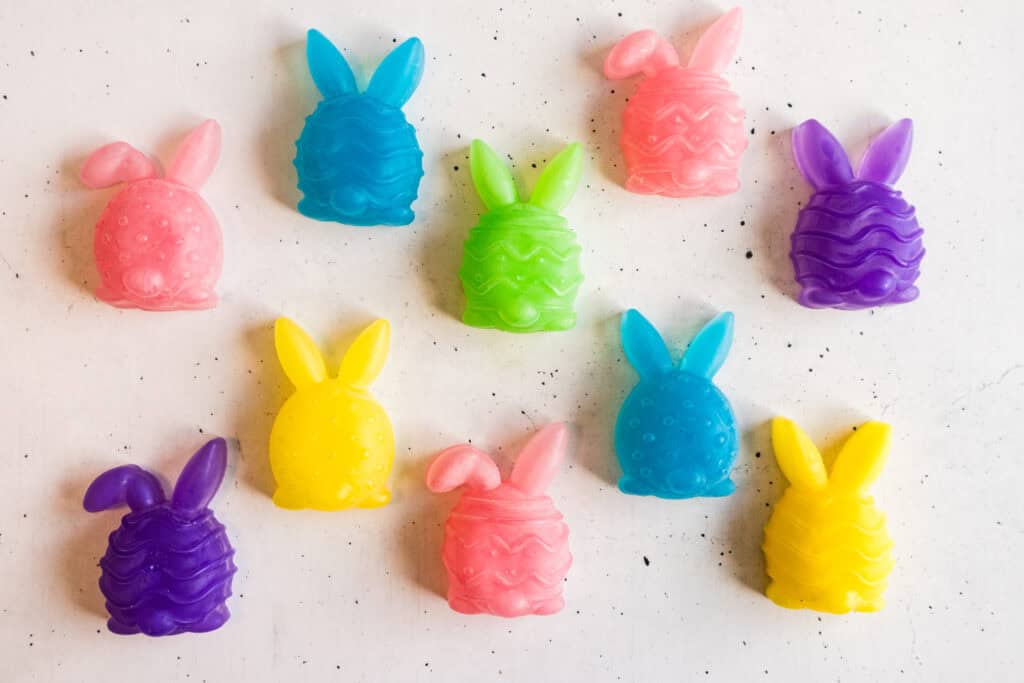
This recipe made about 12 soaps for me using this bunny mold.
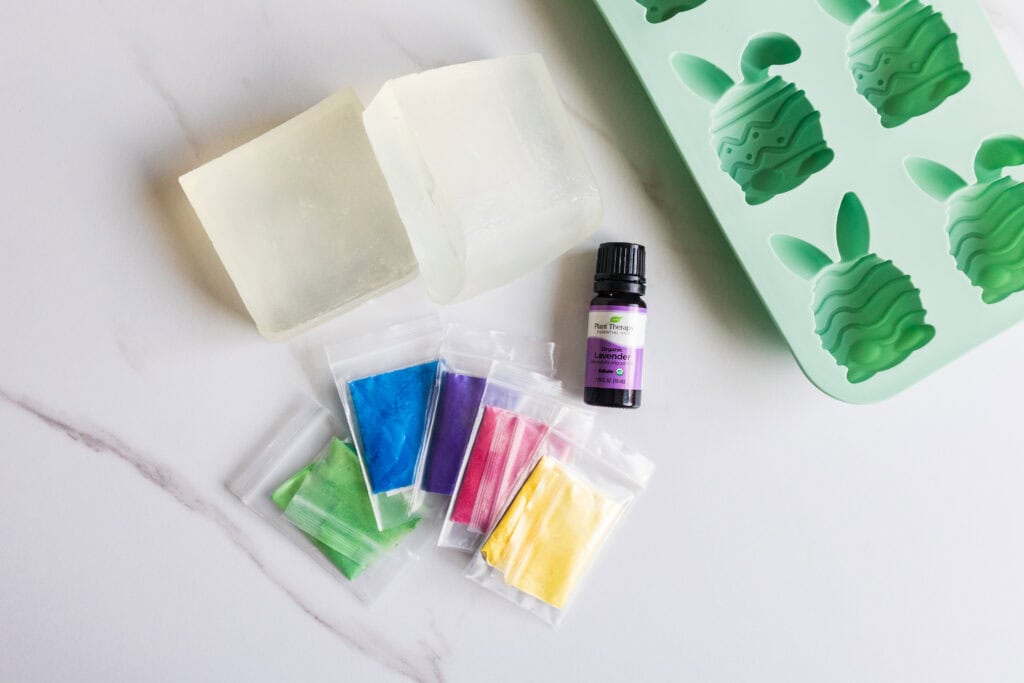
Ingredients
- 1 ¼ pounds glycerin melt and pour soap base
- Mica powders (blue, pink, yellow, purple, green)
- 40 drops essential oils of choice (I do 20 drops for kids and used lavender)
- Bunny soap mold
Instructions
Cut the glycerin soap base into small cubes so it melts evenly. Separate into 5 containers if you want multiple colors.
Melt the soap using a double boiler or microwave in 20 to 30 second bursts, stirring in between until fully melted.
Let the melted soap cool for about a minute.
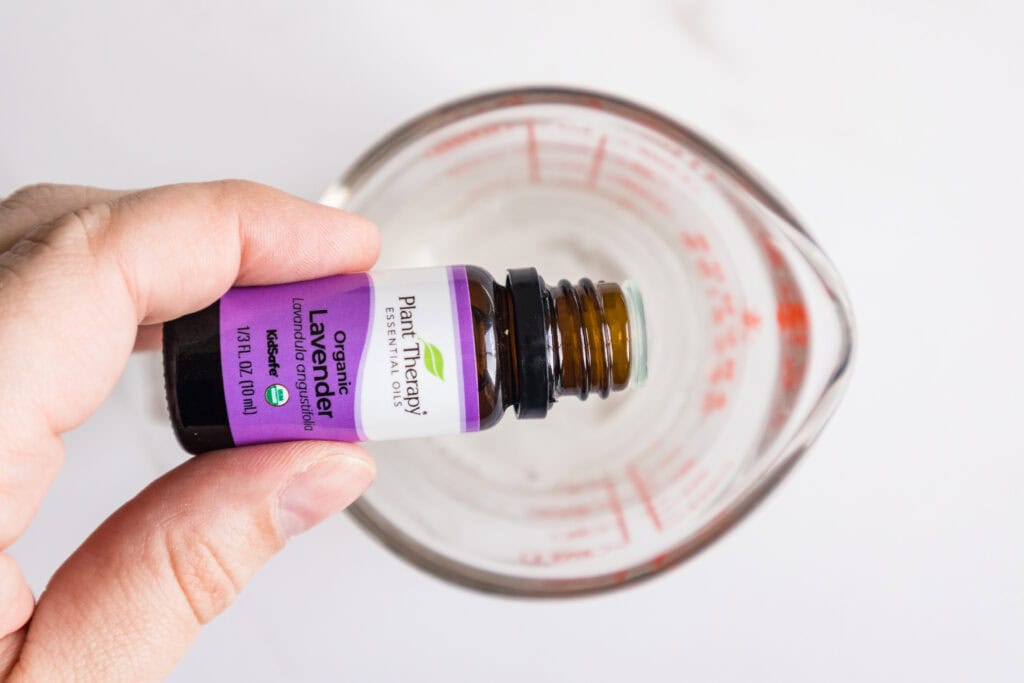
Add about 8 drops of essential oil to each portion and stir gently.
Add a small amount of mica powder to one bowl and mix until fully combined. Start small and adjust as needed.
Pour the mixture into your bunny mold.
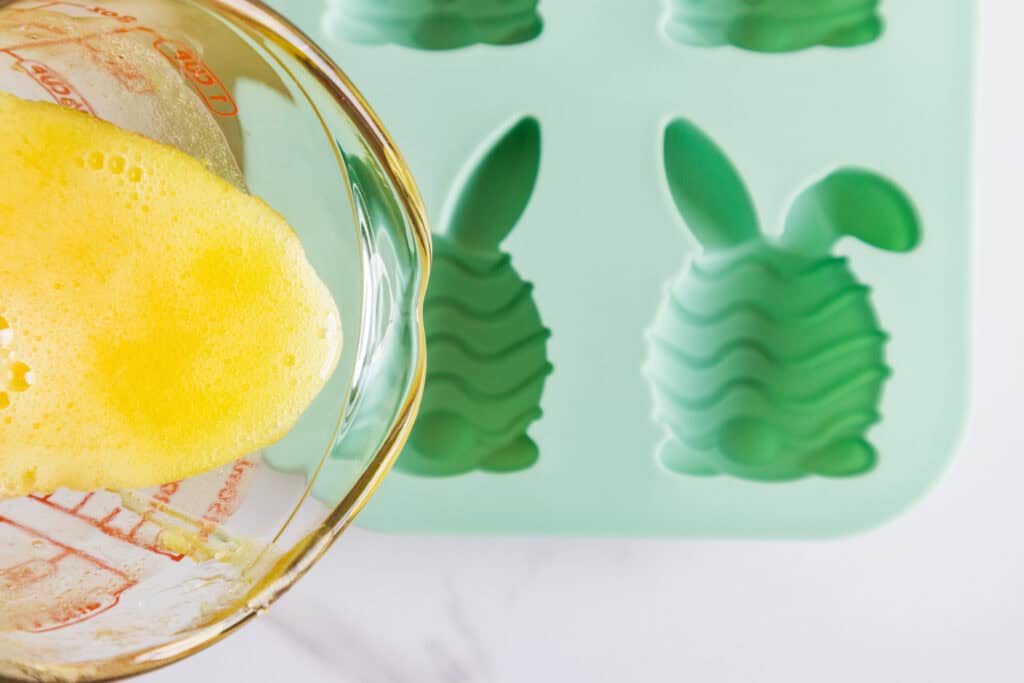
Repeat for each color.
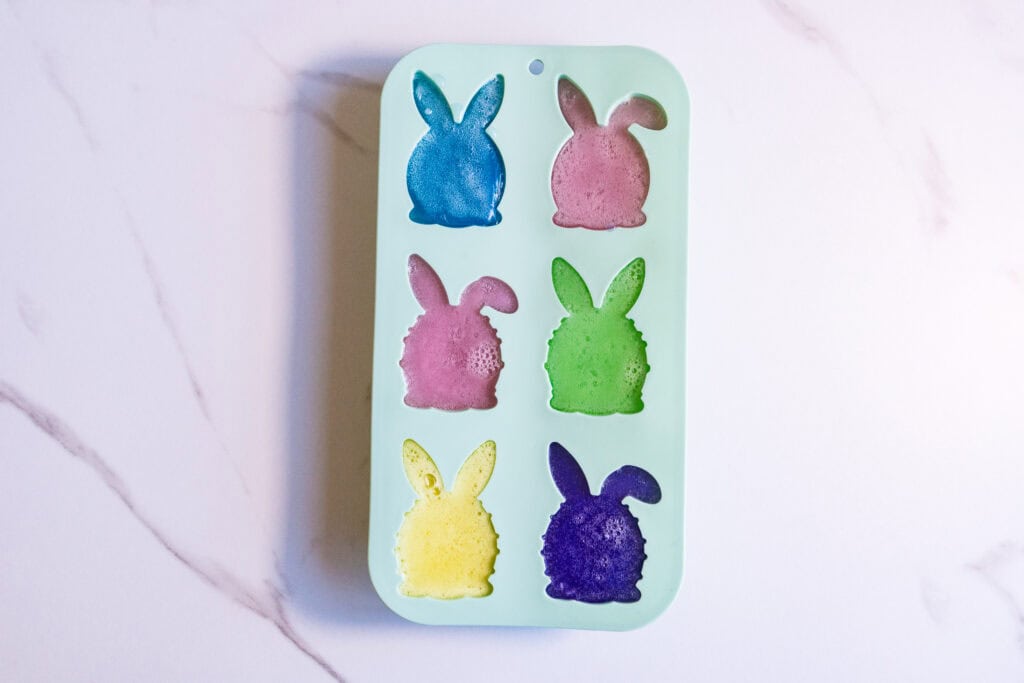
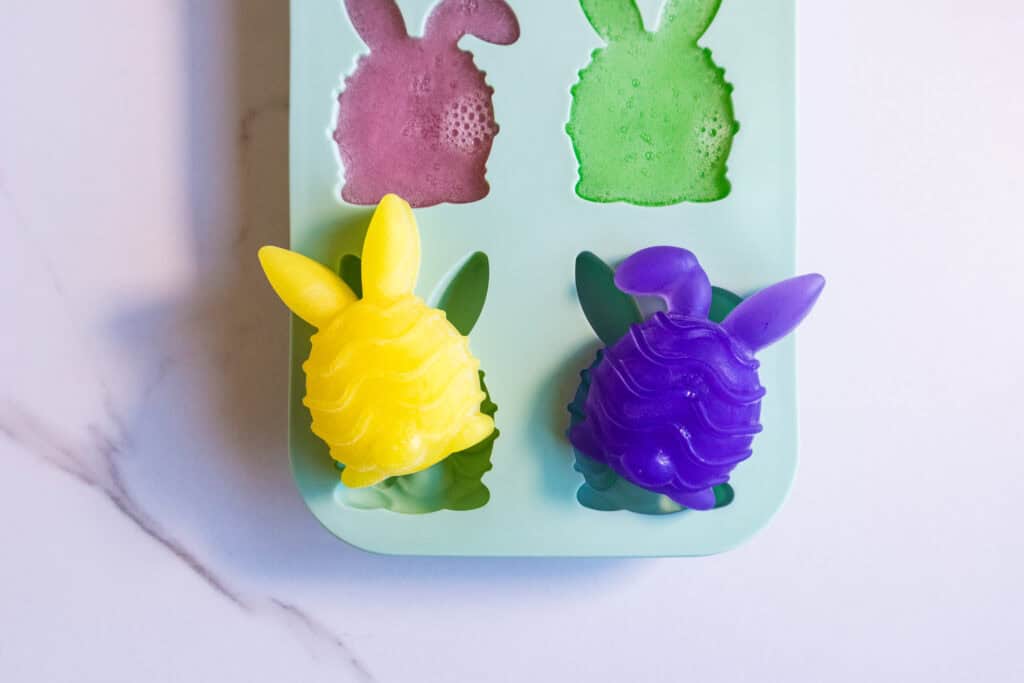
Let the soaps harden at room temperature, about 1 to 2 hours.
Notes
- Spray the tops with rubbing alcohol to help remove bubbles
- A little mica goes a long way, so start small!
- If you want a pastel color, use a white soap base like goat’s milk.
- Let them fully harden before removing from the mold so they keep their shape
- Store in a cool, dry place
- Shelf life is typically about 6 to 12 months
Fun Easter Basket Idea
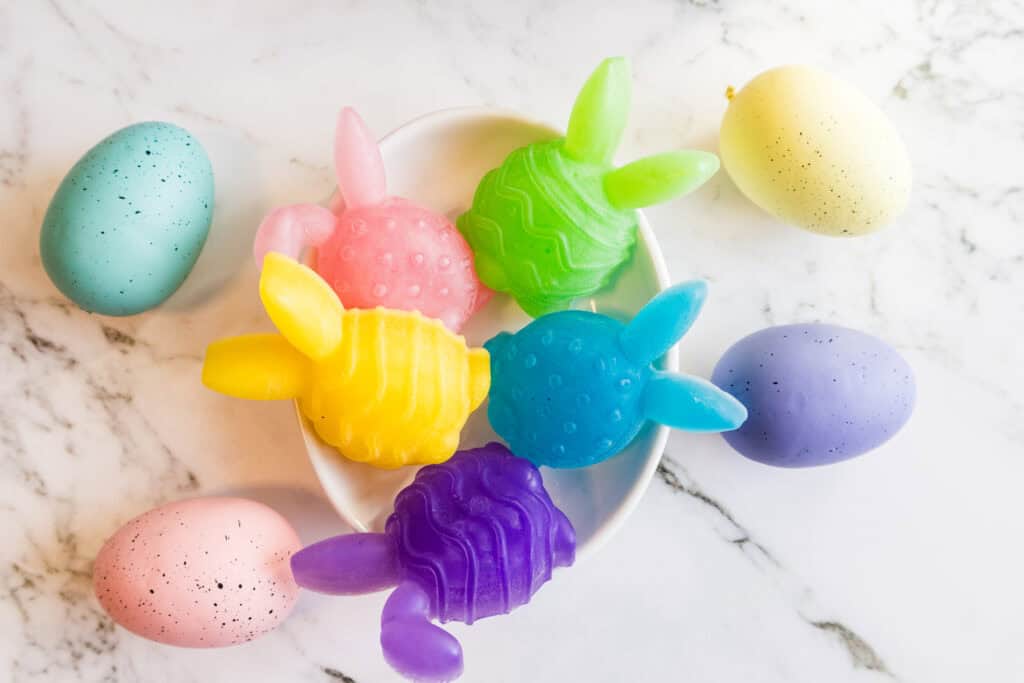
These are such a sweet swap for candy, especially if you’re trying to cut back a little.
You could pair them with:
- A soft washcloth
- A small wooden brush
- One of your homemade Easter egg bath bombs
- A container of DIY Easter sugar scrub
It makes a simple little self-care basket that still feels fun and festive!
A Quick Tip If You’re New
The first time I made melt and pour soap, I was worried about messing it up. But the good news is, it’s really forgiving!
If your colors aren’t perfect or your layers mix a little, it still turns out cute. Kids don’t notice those little things anyway, they just love the bright colors and fun shapes 🙂
Easter Bunny Soaps
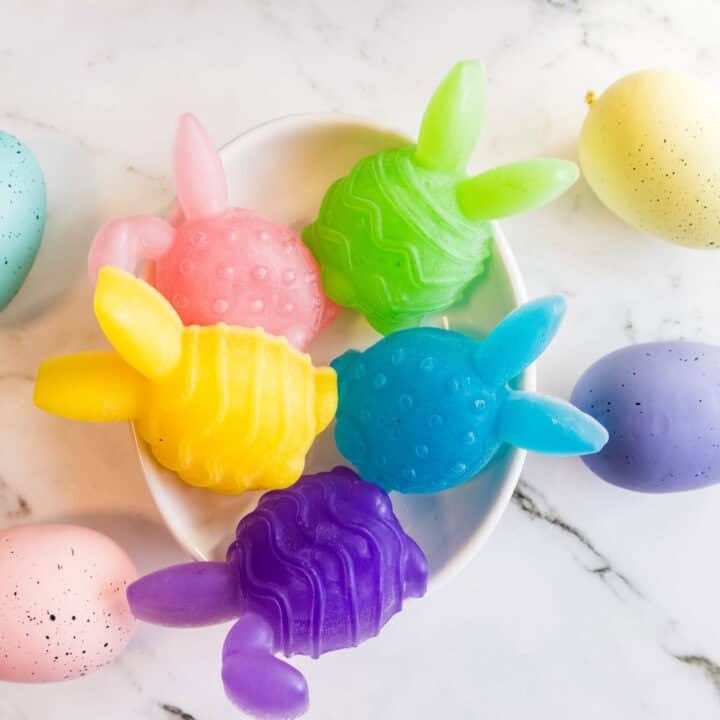
Colorful, fun bunny-shaped soaps made with melt-and-pour glycerin base. Perfect for Easter gifts, kids, or decorative bath treats.
Materials
- 1 ¼ pounds glycerin melt and pour soap base
- Blue, pink, yellow, purple, and green mica powders
- 40 drops essential oils of choice
Tools
- Knife
- Bunny soap mold
- Cutting board
- Microwave-safe bowls or double boiler
- Spoon or spatula
- Measuring spoons
- Spray bottle with rubbing alcohol
Instructions
- Cut the glycerin soap base into small cubes to help it melt evenly. Then, separate into 5 separate containers.
- Melt the soap base using a double boiler or microwave in 20-30 second bursts, stirring in between until fully melted.
- Once melted, let the soap cool slightly for about 1 minute.
- Add in 8 drops of essential oils to the melted soap base.
- Add a small amount of mica powder to one bowl and stir until fully combined. Adjust color as needed.
- Pour into your soap mold.
- Repeat steps 2-6 for each color of soap you want.
- Let the soaps fully harden at room temperature (about 1–2 hours).
Notes
- Spray a light mist of rubbing alcohol after pouring to remove bubbles and give a smooth finish.
Final Thoughts
Making these easy DIY Easter bunny soaps is just so much fun and is a great way to replace sugar for something your kids will actually use and not crash from!
And once you realize how easy it is to make your own soaps, it kind of opens the door to so many other DIYs too.
You don’t need anything fancy to get started. Just a few ingredients, a little time, and a willingness to try 🙂


