DIY Candy Corn Soap Recipe

October is my favorite time of year to make soap. Something about the cooler air coming through the windows and the smell of orange and cinnamon filling the kitchen just feels SO good!
Last fall I had the idea to make a few different homemade candy corn recipes, but I ran out of time, so I made sure this year would be different! First I made a candy corn sugar scrub, followed by a homemade bath salt recipe with the design too.
Now, it was time to make a DIY candy corn soap!
I’ve been making melt and pour soaps for years now. Melt and pour is the answer for me as my kids are almost always making it along with me, and I don’t want to deal with lye around them right now. It’s forgiving, it’s fun, and you can make something genuinely beautiful without a lot of equipment or experience!
Now that we have a house with counter space (finally), I make batches almost every month.
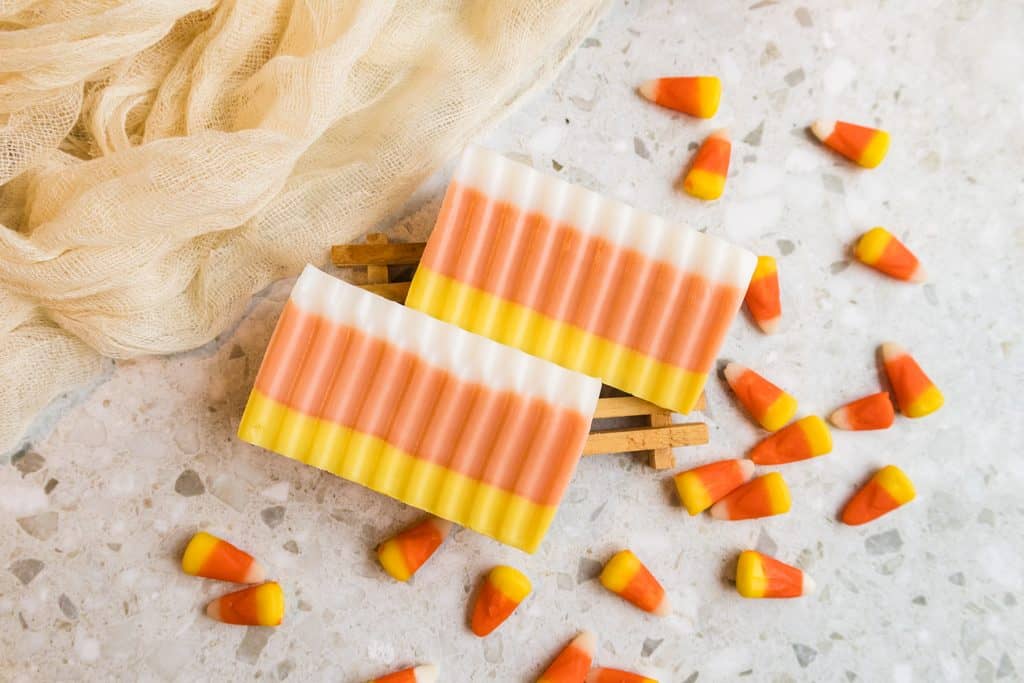
This homemade candy corn soap is more of a seasonal craft than a hardcore herbal recipe, but that’s okay! It’s nice to just have some fun every now and again with recipes. Here is how I made this candy corn design soap!
Benefits of the Essential Oils
The essential oil blend here isn’t random. Here are why you will love this blend for this DIY Halloween soap.
- Orange essential oil is the star and there’s a reason it shows up in SO many soap recipes. It’s uplifting, bright, and smells incredible! In a cold bathroom on a gray November morning, that citrusy hit is genuinely welcome.
- Vanilla adds warmth and rounds out the sharper citrus notes. It’s the reason this blend smells more “cozy fall evening” than “cleaning product.” Plus, it is my favorite smell!
- Frankincense is one I’ve loved since early in my herbal journey. It has a slightly resinous, grounding quality that keeps the blend from going one-note. It adds depth without taking over.
- Cinnamon bark is used in tiny amounts here for a reason. It’s a strong oil and can be irritating if overused in rinse-off products. At this concentration it just adds a little spice, just enough to give the blend that warm finish.
- Lemon brightens everything up slightly and keeps the blend from feeling too heavy. Think of it as the thing that stops the cinnamon and frankincense from getting too serious.
- The soap base itself is doing the actual cleansing work. Melt and pour is gentle, lathers well, and keeps its shape without the lye-handling process of cold process soap. Good starting point if you’re new to this 🙂
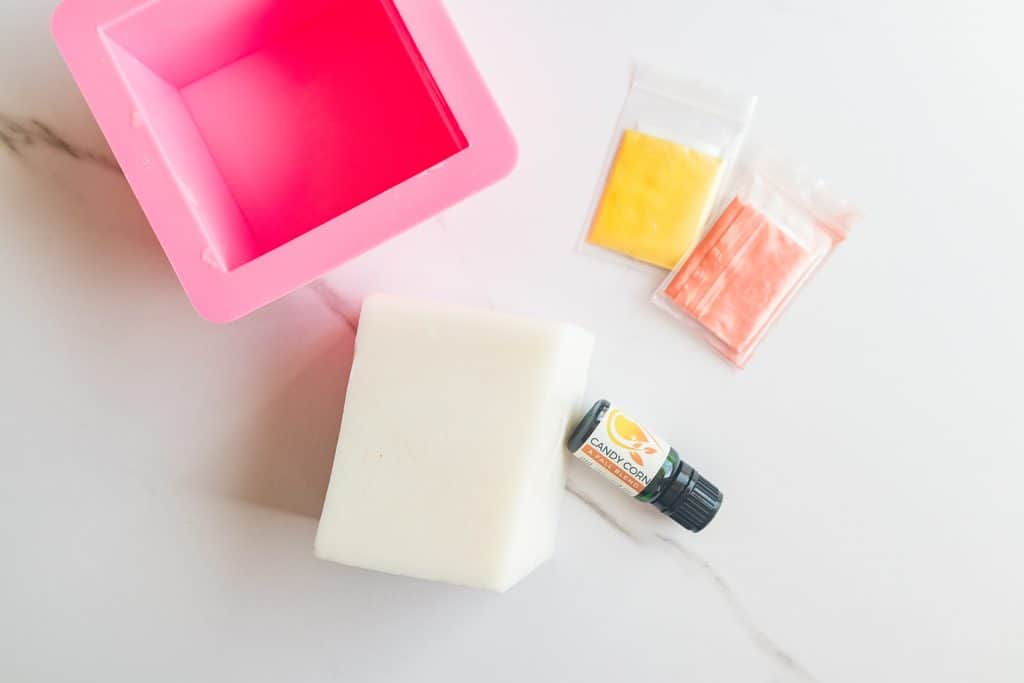
I personally used a candy corn essential oil blend from Jade Bloom, which includes these oils, but I show how to make your own similar blend as well too!
Pin This Post For Later:
Some of these links are affiliate links meaning if you purchase from these links, I will earn a commission at no extra cost to you. Everything I share is my own opinions and things I personally use and love. You can learn more by reviewing my disclosure. As an Amazon affiliate, I earn from qualifying purchases.
DIY Candy Corn Soap Recipe
Makes: about 5 bars
Ingredients
Base
Yellow Layer (5 oz)
- 5 oz soap base
- 3/8 teaspoon yellow mica
- Essential oils: 62 drops orange EO, 20 drops vanilla, 9 drops frankincense, 5 drops cinnamon bark, 4 drops lemon OR 100 drops candy corn essential oil blend
Orange Layer (9 oz)
- 9 oz soap base
- ½ teaspoon orange mica powder
- Essential oils: 196 drops orange EO, 63 drops vanilla, 28 drops frankincense, 14 drops cinnamon bark, 14 drops lemon OR 315 drops candy corn essential oil blend
White Layer (4 oz)
- 4 oz soap base
- No mica or essential oil
Instructions
Cut and melt the yellow layer’s soap base until fully liquid.
Stir in the yellow mica powder.
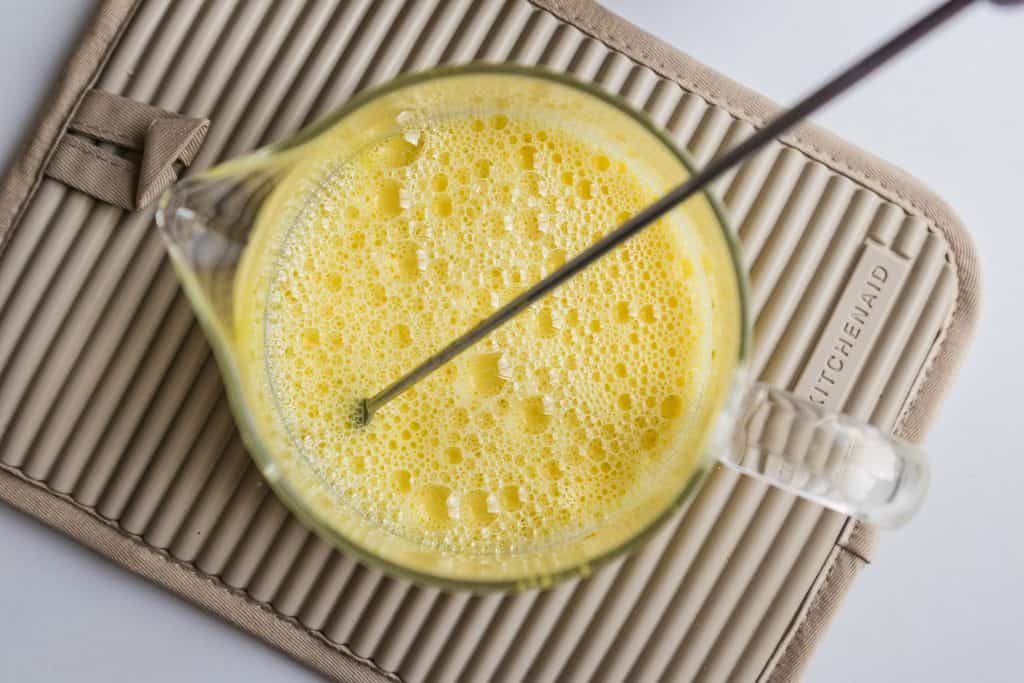
When the soap base cools to 135 degrees F, add in the essential oils.
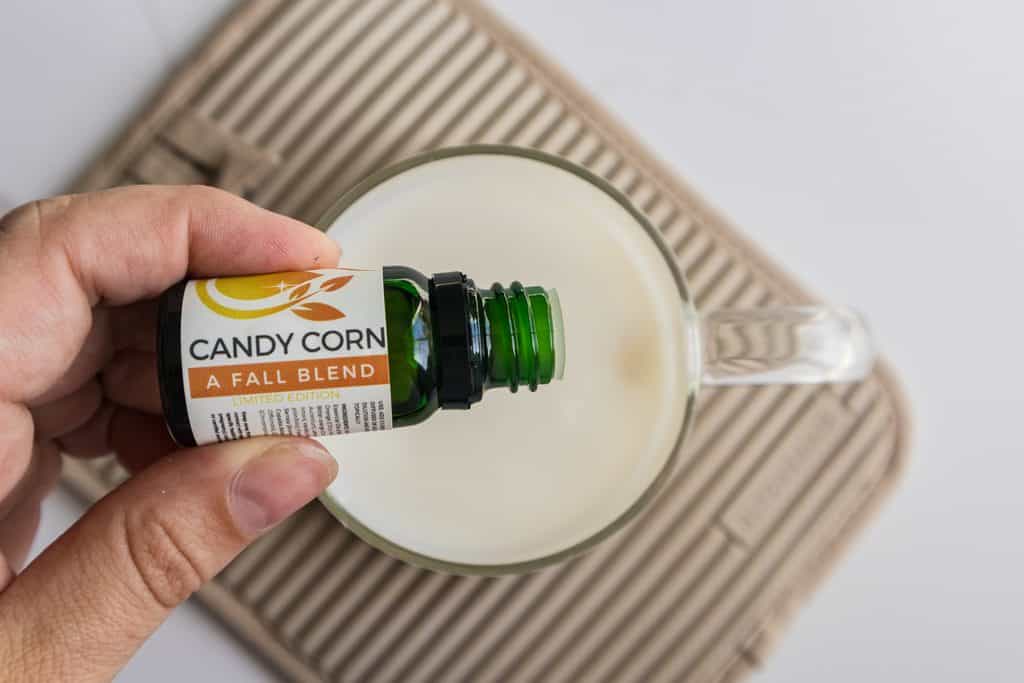
Pour into mold and let set until firm but still slightly tacky, about 15-30 minutes.
Melt the orange layer’s soap base.
Once melted, add in the orange mica powder. Then when it cools, add in the essential oils once again.
Spritz the set yellow layer with rubbing alcohol, then pour the orange layer at 120-130°F to help the layers bond together.

Let the orange layer set until firm.
Melt the white layer’s soap base.
Spritz the orange layer with rubbing alcohol and pour the white layer on top when it cooled down to 120-130 degrees F.
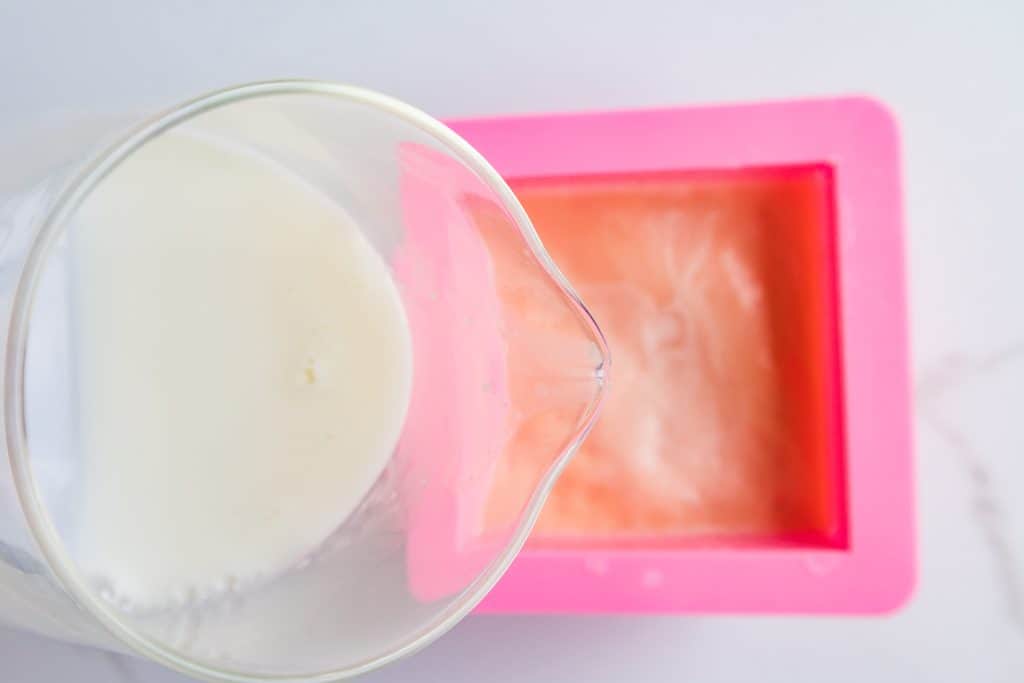
Let the soap cool and harden completely before unmolding and cutting.

Notes
- Pour temperature matters for layer bonding. Aim for 120-130°F on each new layer. Too hot and it’ll melt into the layer below. Too cool (under ~115°F) and it may not bond, risking separation when cut or handled.
- Spritz each set layer with rubbing alcohol right before pouring the next layer. This breaks surface tension and helps the layers fuse!
- Let each layer set until firm to a light touch but still slightly tacky before pouring the next (15-30 minutes, depending on room temp).
- Again, I prefer using the candy corn essential oil blend, makes it a lot easier! Plus, it smells SO good! 🙂
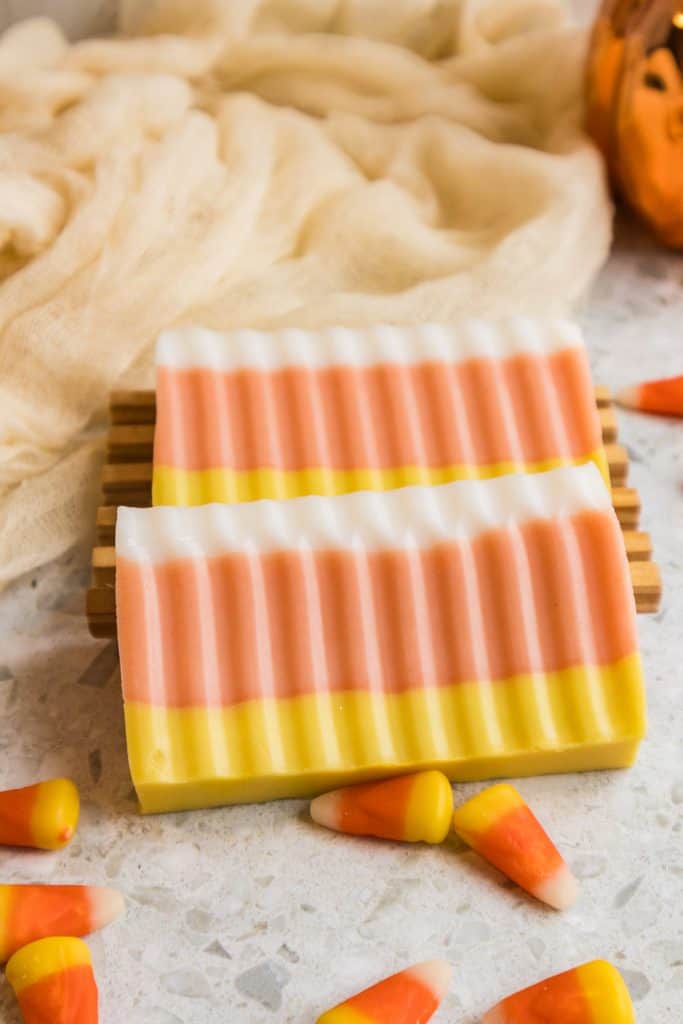
How to Use It
Use just like any bar soap, hands, face, body, whatever your preference. The essential oil scent is present but not overwhelming on the skin.
Store finished bars somewhere dry and out of direct sunlight. Melt and pour soap has a decent shelf life (usually 1-2 years) but humidity is its enemy, so keep it unwrapped in a soap dish that drains, or wrap right away to better preserve it.
These would be cute wrapped in cellophane and tied with a ribbon for Halloween goodie bags or fall teacher gifts.
Kids LOVE getting handmade soap when it looks like candy (just make sure it’s clearly labeled!) I gave these to my neighbors and they LOVED it!
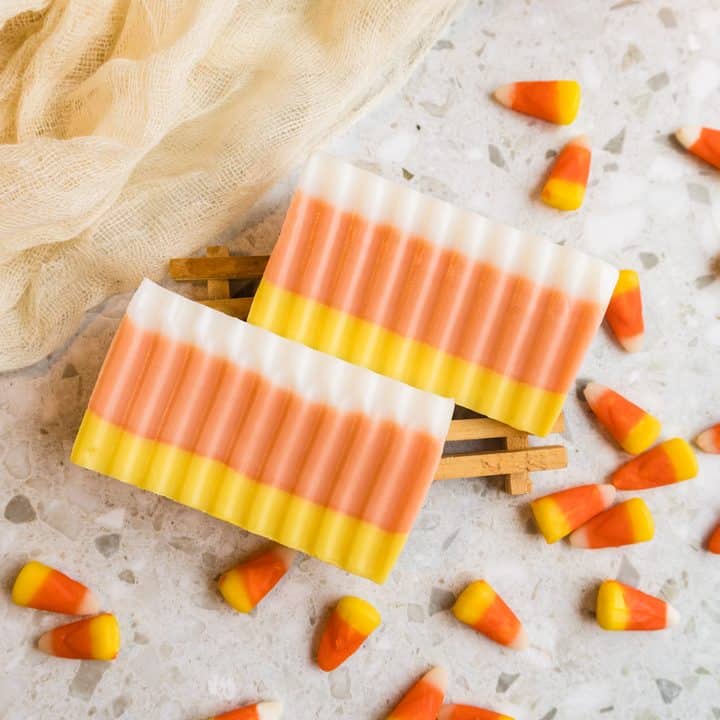
Candy Corn Soap
A three-layered melt and pour soap made to look like candy corn, scented with a warm fall essential oil blend of orange, vanilla, frankincense, cinnamon bark, and lemon. The layers are yellow, orange, and white to mimic the classic candy corn colors.
Ingredients
Yellow Layer
- 5 oz soap base
- 3/8 teaspoon yellow mica
- 100 drops essential oils
Orange Layer
- 9oz soap base
- 1/2 teaspoon orange mica
- 315 drops essential oils
White Layer
- 4 oz soap base
Instructions
- Cut and melt the yellow layer's soap base until fully liquid.
- Stir in the yellow mica powder.
- When the soap base cools to 135 degrees F, add in the essential oils.
- Pour into mold and let set until firm but still slightly tacky, about 15-30 minutes.
- Melt the orange layer's soap base.
- Once melted, add in the orange mica powder. Then when it cools, add in the essential oils once again.
- Spritz the set yellow layer with rubbing alcohol, then pour the orange layer at 120-130°F to help the layers bond together.
- Let the orange layer set until firm.
- Melt the white layer's soap base.
- Spritz the orange layer with rubbing alcohol and pour the white layer on top.
- Let the soap cool and harden completely before unmolding and cutting.
Notes
- Pour temperature matters for layer bonding. Aim for 120-130°F on each new layer. Too hot and it'll melt into the layer below. Too cool (under ~115°F) and it may not bond, risking separation when cut or handled.
- Spritz each set layer with rubbing alcohol right before pouring the next layer to break surface tension and help layers fuse. Let each layer set until firm to a light touch but still slightly tacky before pouring the next (15-30 minutes, depending on room temp).
- Store finished bars somewhere dry and out of direct sunlight; melt and pour soap has a shelf life of usually 1-2 years but humidity is its enemy.
- If you don't want to buy the candy corn essential oil blend, read above in the post for a DIY recipe that's similar.
Final Thoughts
I’m already planning to make another batch soon, but this time do more pastel colors since I love that style!
If you’ve never done layered melt and pour soap before, this is a genuinely satisfying project and it is not too hard to do! The layers feel fussy but they’re totally manageable once you understand the temperature piece. Just have a thermometer nearby and don’t rush it 🙂
If you liked this, you will love my candy cane Christmas soap recipe too!
Let me know if you try it!