Easy DIY All-Natural Chocolate Soap Recipe

Here is a super fun and easy melt and pour chocolate soap recipe! If you love the smell of chocolate, this chocolate is just for you!
This hot cocoa soap will make for the perfect Christmas soaps to give during the holidays, or as a self-care gift.
Learn all about how to safely and correctly use cocoa powder into your soap and will show you a chocolate soap recipe with melt and pour base as well as a cold process cocoa soap recipe.

How do you make homemade chocolate soap?
You can make a homemade chocolate soap using either the cold process method or the melt and pour method. You can use some cocoa powder in both to create a cocoa soap!
Can I put chocolate in soap?
You can use a variety of chocolate in soaps, but the most common forms include cocoa powder, cocoa absolute, and cocoa butter! I use cocoa powder in my soap recipe down below.
Can you add cocoa powder to melt and pour soap?
Yes you can add cocoa powder to a melt and pour soap base. For a cocoa soap recipe, you will want to mix the powder very well or else it could leave some lumps.
How do you make chocolate soap smell?
You can use cocoa absolute and chocolate essential oils to make the chocolate soap smell good and stay all natural. The cocoa powder and cocoa butter will also give it a more chocolatey smell as well.

Is chocolate soap good for your skin?
There are properties in chocolate that make it great for your skin! Learn all the benefits of chocolate soap down below.
How much cocoa powder to use in soap?
Depending on how much soap you plan to make, you don’t want to add too much cocoa powder or it will get clumpy and won’t mix well. For this recipe, I used 1 teaspoon of cocoa powder for 1 pound of melt and pour soap.
Chocolate Soap Benefits
Not only does cocoa soap smell good, but chocolate soap can actually be very beneficial to your skin and body! The caffeine in chocolate will help your skin be firm and can be able to reduce puffiness in your skin. It can help increase the elasticity in your skin too!

Some say that it can also reduce the appearance of scars along with fine lines and wrinkles. There are some studies that even show it has anti-aging properties too!
Because it is so rich in antioxidants, fatty acids, omega 6, magnesium, and vitamin C, it is so good for the entire body! It can help detox your skin and get rid of the dead skin cells.
Cocoa soap will help your skin be glowing, healthy and super soft!
Some of these links are affiliate links meaning if you purchase from these links, I will earn a commission at no extra cost to you. Everything I share is my own opinions and things I personally use and love. You can learn more by reviewing my disclosure. As an Amazon affiliate, I earn from qualifying purchases.
DIY Chocolate Soap Recipe
Now that you know all about chocolate soap, here is how to make chocolate soap, with an easy to follow cocoa soap recipe!
This recipe will make four one inch bars if you use the soap mold below, or you can use any of these incredible soap molds.
Chocolate Soap Ingredients
- 1 lb melt and pour soap base*
- 1 tbsp coconut oil
- 1 tsp cocoa powder
- 6 drops chocolate essential oil*
- 10 drops vanilla essential oil*
- 4” silicone loaf soap mold*
- Wavy soap cutter*
- 2 – 4 cup microwave safe measuring cups
- Wooden craft sticks for stirring
- Spray bottle with rubbing alcohol*

Directions
- Cut the melt and pour soap base into 1 inch cubes and divide them between the two measuring cups.
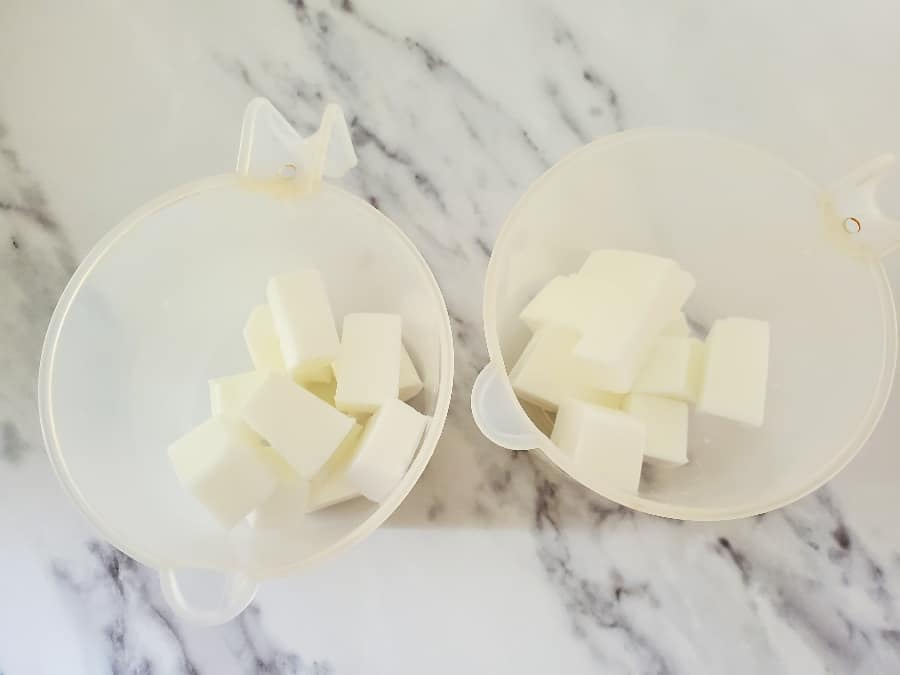
- Heat both cups on high in the microwave for 30 seconds. Remove and stir well. Keep heating for 10 second intervals, stirring between each heating session, until fully melted.
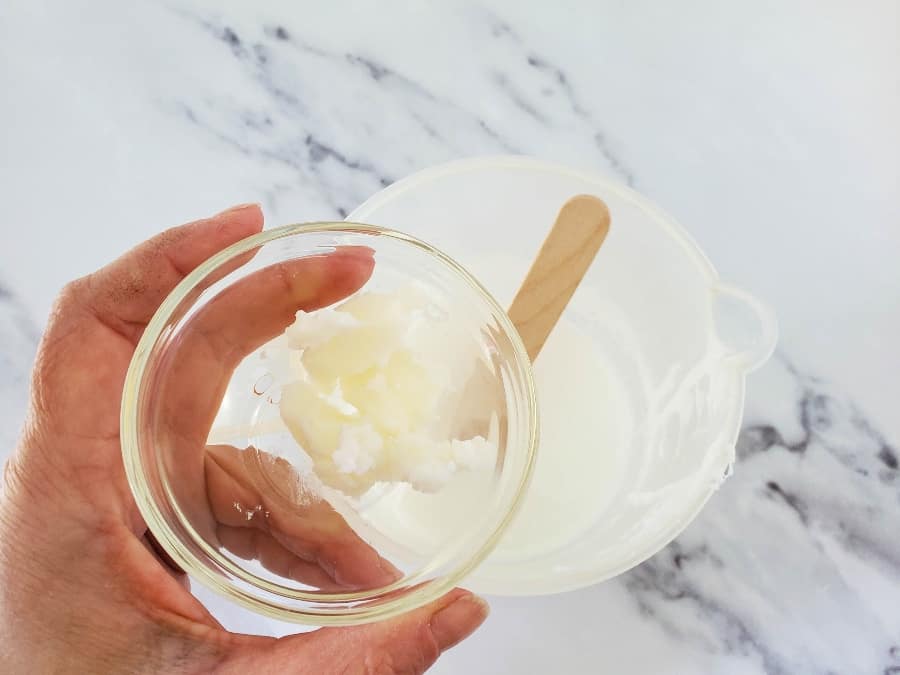
- Add the coconut oil to one of the cups, and stir well until it is melted into the soap base. Then stir in the vanilla essential oil.
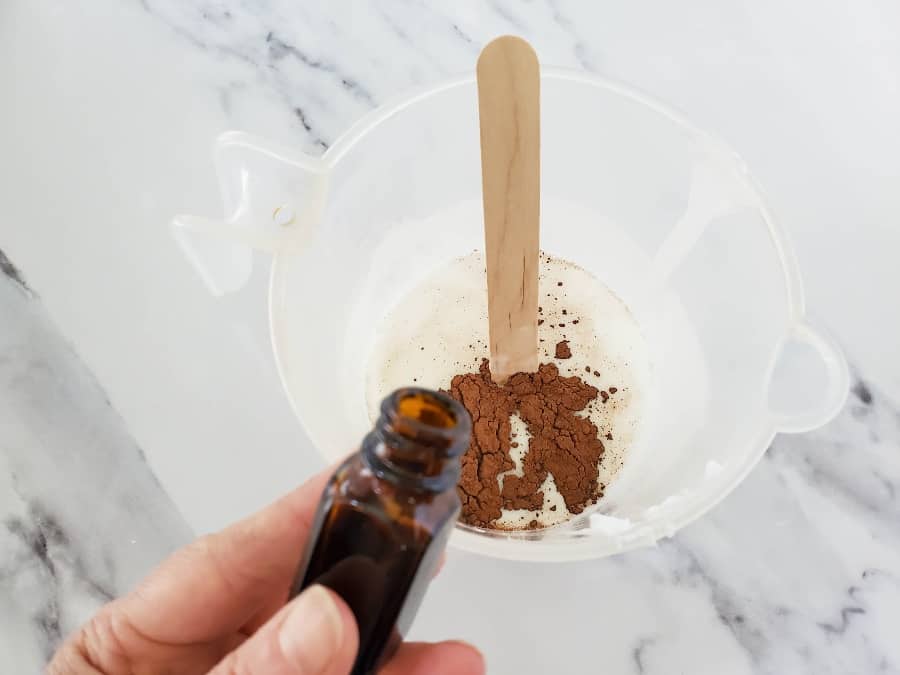
- Add the cocoa powder to the other cup, and stir very well to combine. Once it is all combined, add in the chocolate essential oil.
- Pour a small amount of one of the soap bases into the bottom of the mold, not covering the whole bottom and then allow it to set for a few seconds.

- Pour a small amount of the other soap base into the mold, on the opposite side, overlapping the other soap base slightly.

- Repeat the pouring process, alternating soap bases until it is all finished. You can spray a little rubbing alcohol here and there between the layers. **You will need to reheat the soap base occasionally to keep it from hardening in the measuring cups. Heat in 10 second intervals and stir well, so that you do not scorch it.
- Once you have used all of the soap base for your layers, sprinkle a little bit of cocoa powder on the top.
- Then, allow the soap to set for at least 4 hours, but I like to keep it in the mold overnight.
- When it is all hard, remove from the mold, and cut into 1 inch bars with the wavy cutter.

*Notes
- You can use any melt and pour base you would like. I prefer using a goat base!
- Essential oils are always optional, especially the vanilla essential oil, but they will make your soap smell absolutely incredible!
- Use any soap mold and cutter you prefer. Most other molds will not need a cutter either!
- You do not have to use the spray bottle with alcohol, but it will help to prevent bubbles on your soaps.
How to Package Chocolate Soaps
There are so many fun ways to package chocolate soaps. Here are some ideas:
- In craft paper
- Put some ribbon and a tag on it
- Cute cardstock cut outs
- Muslin bags
- Boxes
- And more!
Check out these eco-friendly no waste wrapping paper ideas.
You really cannot go wrong with packaging soap however you want.

Other Soap Making Method
You can also make a chocolate soap recipe using the cold process method. While I don’t use that method, you can learn all about it and how to make a cold process chocolate soap here!
There are so many great chocolate soap benefits that you will love this simple chocolate soap recipe to make. It is so fun and easy to do, you can even get your kids to help you make it!
You will love these other great natural recipes:
- Chocolate Soap
- Coffee Bath Bomb
- Coffee Soap
- Eucalyptus Bar Soap
- Turmeric Soap
- Simple Organic Lotion Bar
- Oatmeal Soap
- Lavender Salve
- Cotton Candy Soap
- Lavender Bath Salts
- Lemongrass Lotion Bars
- Herbal Muscle Rub
- Period Pain Relief Cream
- Whipped Sugar Scrub
- Himalayan Bath Salt Fizzy Powder
- Rose Sugar Scrub
- Calendula Salve
- DIY Makeup Remover Pads
- Rose petal salve


