DIY Elderberry Syrup Gift Jar Idea

Elderberry syrup was one of the first things I ever made from scratch when I started learning about herbs. I remember standing in our tiny apartment kitchen, stirring a pot of dark purple elderberry syrup that smelled like fall time and feeling SO proud of myself.
It became a fall staple for our family fast, and honestly, once you make it yourself, store-bought just never hits the same!
This article is a little different though. We’re not just making elderberry syrup. We’re making a DIY elderberry syrup gift jar, a kit someone else can make at home, with all the dried herbs already layered inside and a little instruction tag attached.
It’s thoughtful, it’s beautiful, and it feels personal in a way that a candle from the checkout line just doesn’t.
Whether you’re making it for a neighbor, a teacher, or your sister who keeps saying she wants to try natural remedies but doesn’t know where to start, this is the one 🙂
Benefits
- Elderberries are probably the most well-known herb in the natural wellness world for a reason!! They’re PACKED with antioxidants and have been used for centuries to support the immune system.
- Ginger root brings warmth and a little kick. It’s traditionally used to support digestion and circulation, and paired with elderberry, it adds a depth of flavor that makes the syrup actually taste good, not just medicinal.
- Cloves are one of those quietly powerful spices. They’re naturally antimicrobial and warming, and they give the syrup that slightly spiced, almost holiday quality. Even just a teaspoon makes a difference!
- Cinnamon sticks do a lot of heavy lifting here. Beyond the flavor (which is a huge part of why people LOVE this syrup), cinnamon is warming, supportive, and has been used in traditional herbalism for centuries.
- Raw honey, added at the end of the cooking process, serves as a natural preservative and a sweetener. It’s important to add it after the liquid cools a bit so the heat doesn’t break down its beneficial properties. And it goes without saying, but honey is NOT for babies under 12 months!
Pin This Post For Later:
Some of these links are affiliate links meaning if you purchase from these links, I will earn a commission at no extra cost to you. Everything I share is my own opinions and things I personally use and love. You can learn more by reviewing my disclosure. As an Amazon affiliate, I earn from qualifying purchases.
DIY Elderberry Syrup Gift Jar Recipe
Makes: 1 pint jar
Ingredients
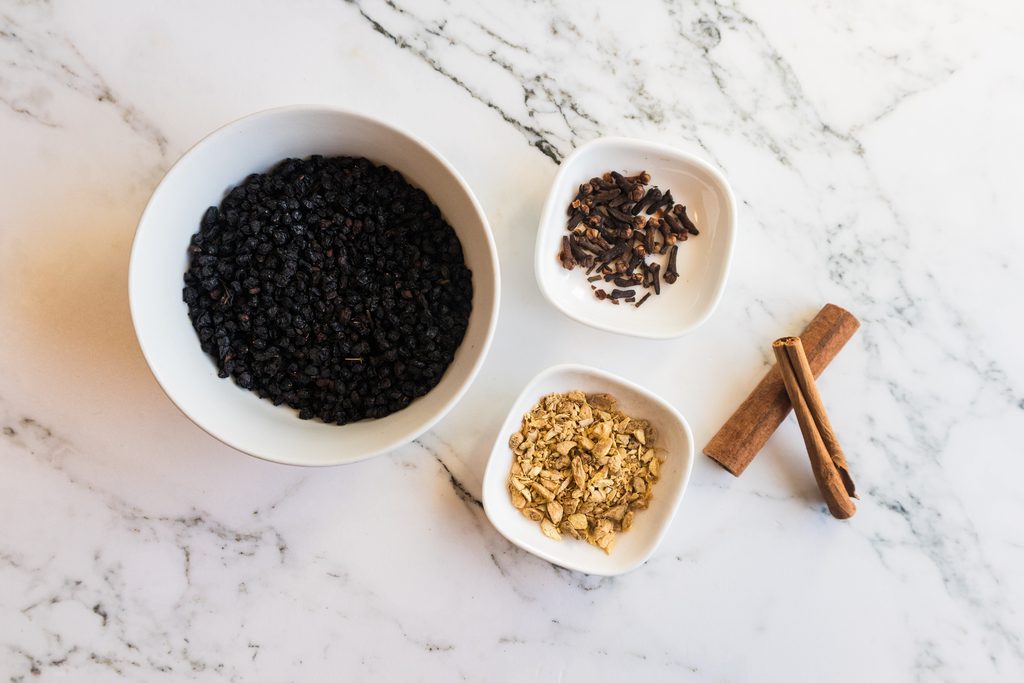
- ½ cup dried organic elderberries
- 1 ½ teaspoons dried organic ginger root
- 1 teaspoon whole cloves
- 2 cinnamon sticks (or chips, either works!)
Instructions
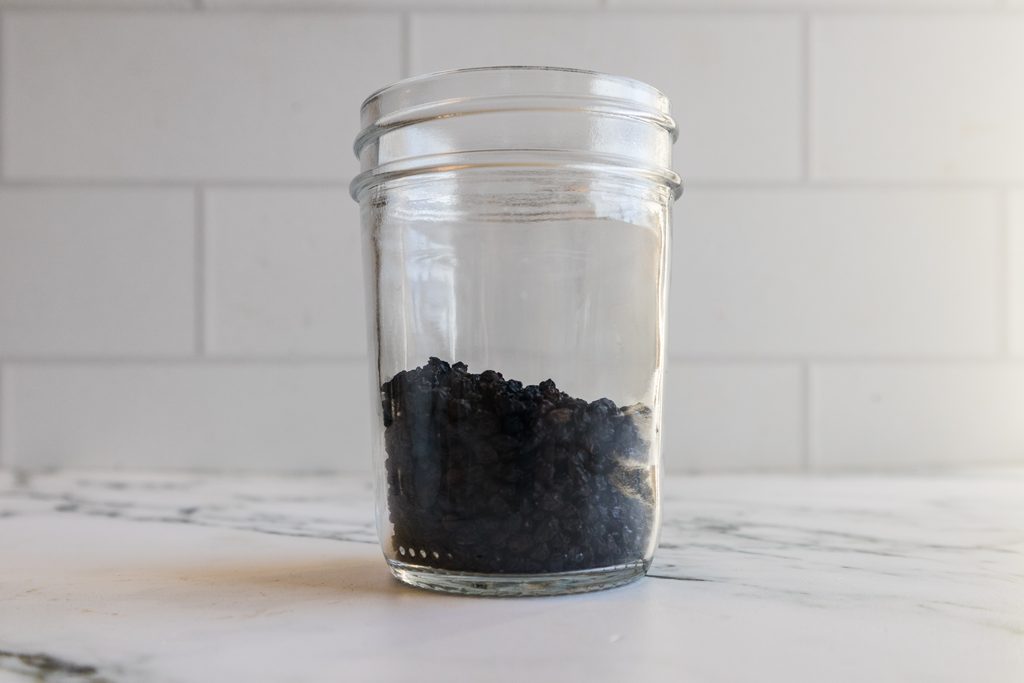
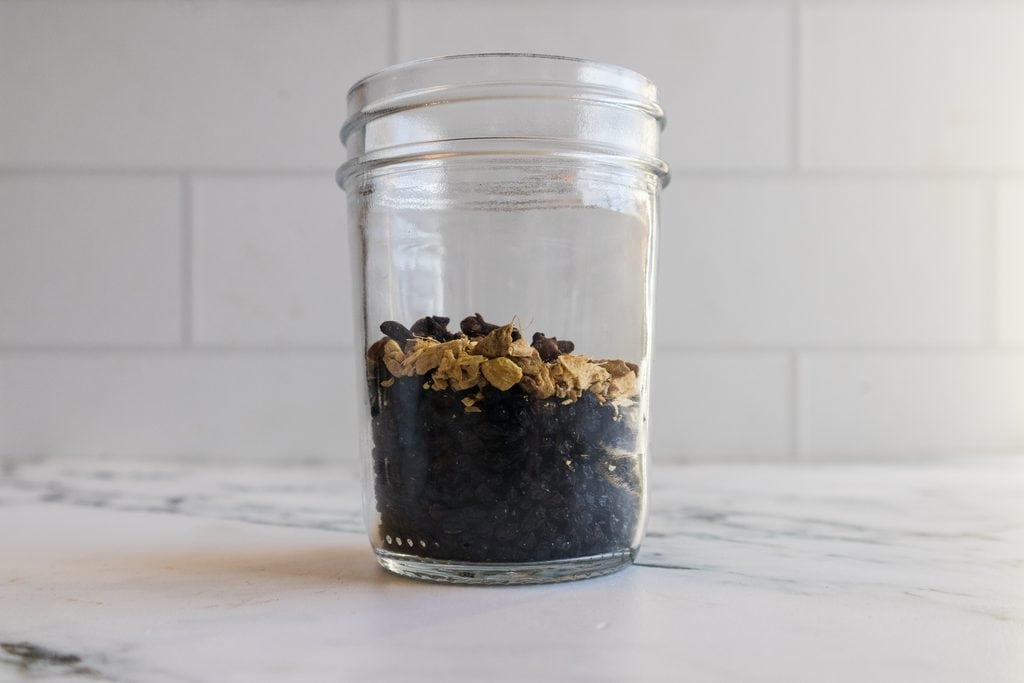
Add the elderberries to a clean, dry jar (a half-pint jar works well). I added ½ first.
Layer the ginger and cloves. Then add rest of elderberries and cinnamon sticks on top. You will have to break up the cinnamon sticks!
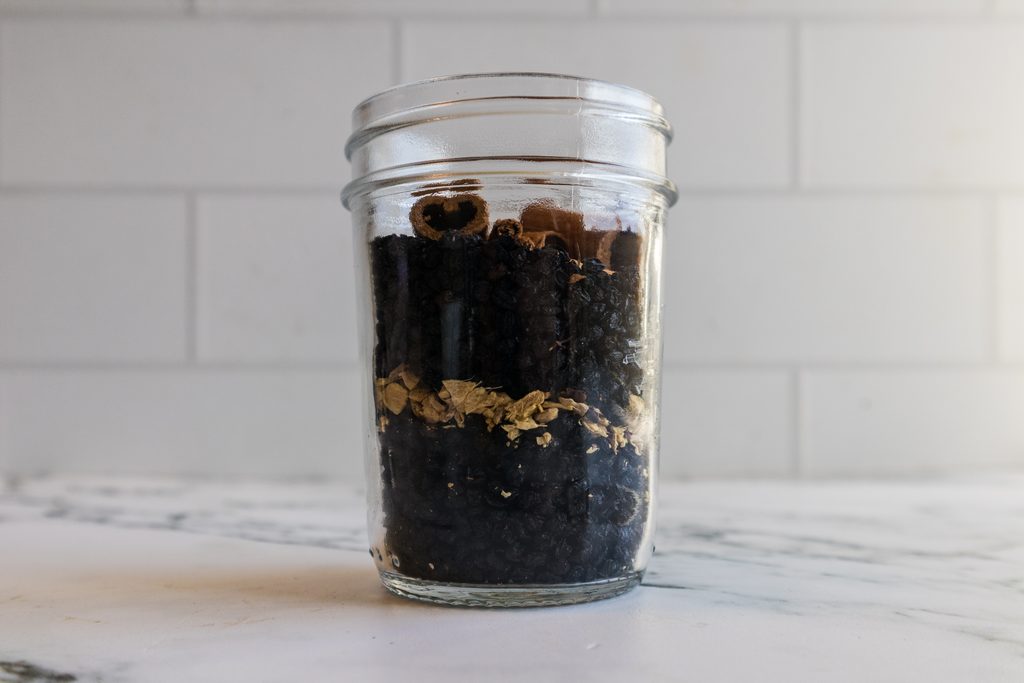
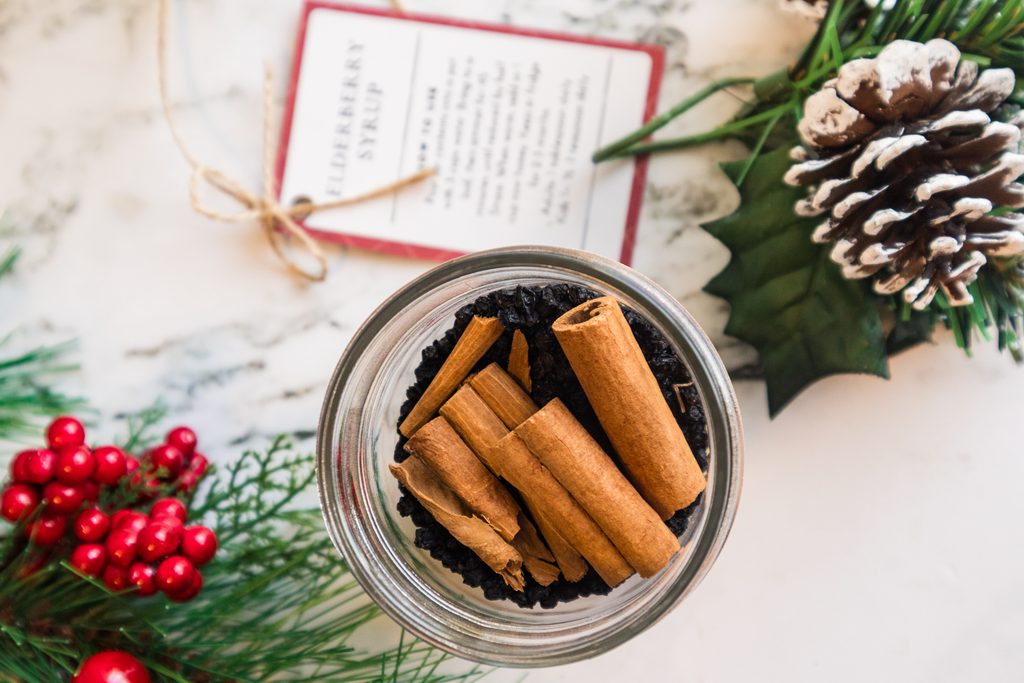
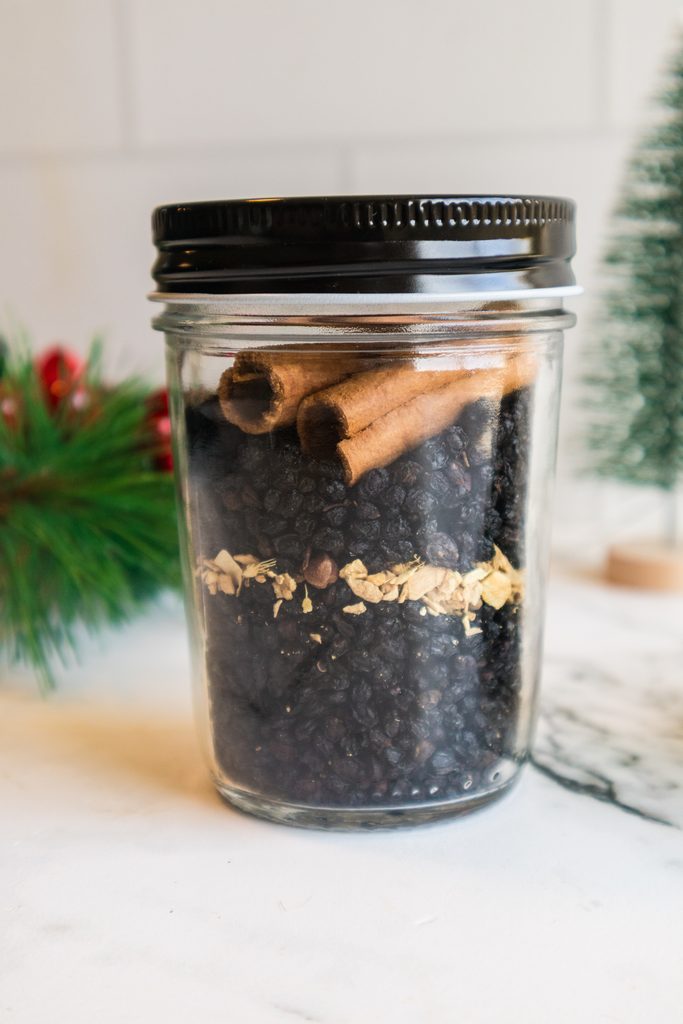
Seal the jar and attach the instruction tag.
Notes
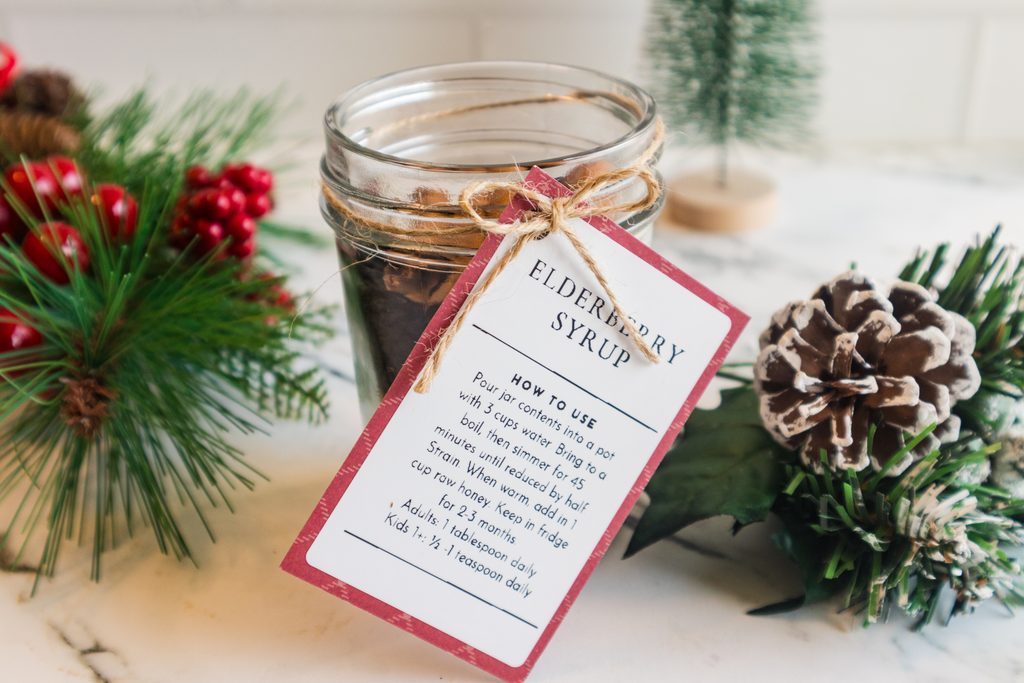
Here is what I added to the tag:
Elderberry Syrup Kit
You will need: 3 cups water and 3/4 -1 cup raw honey
- Pour the jar contents into a pot with 3 cups water.
- Bring to a boil, then simmer uncovered 40-45 minutes, until reduced by about half.
- Mash the berries, then strain and squeeze out all the liquid.
- Let cool until warm, then stir in ¾ cup raw honey.
- Pour into a clean jar and refrigerate. Keeps 2-3 months.
Adults: 1 tablespoon daily Kids 1+: 1/2-1 teaspoon daily (check with your pediatrician) When under the weather, take every 2-3 hours.
Contains honey. Not for babies under 12 months.
How to Use It
Once the recipient makes the syrup, it keeps in the fridge for 2 to 3 months. A daily maintenance dose is 1 tablespoon for adults, and ½ to 1 teaspoon for kids over one year old. If someone is already feeling run down, they can take it every 2 to 3 hours as well.
A couple of things to print on or write on your tag: remind them that the honey goes in AFTER cooling (warm, not hot), and to squeeze every last drop of liquid out of the berries when straining. You lose so much of the good stuff if you rush that step (trust me from experience haha).
For the jar presentation, a square of fabric under the lid ring, some twine, and a handwritten tag make it look genuinely special. Wide mouth mason jars show off the layers best too!
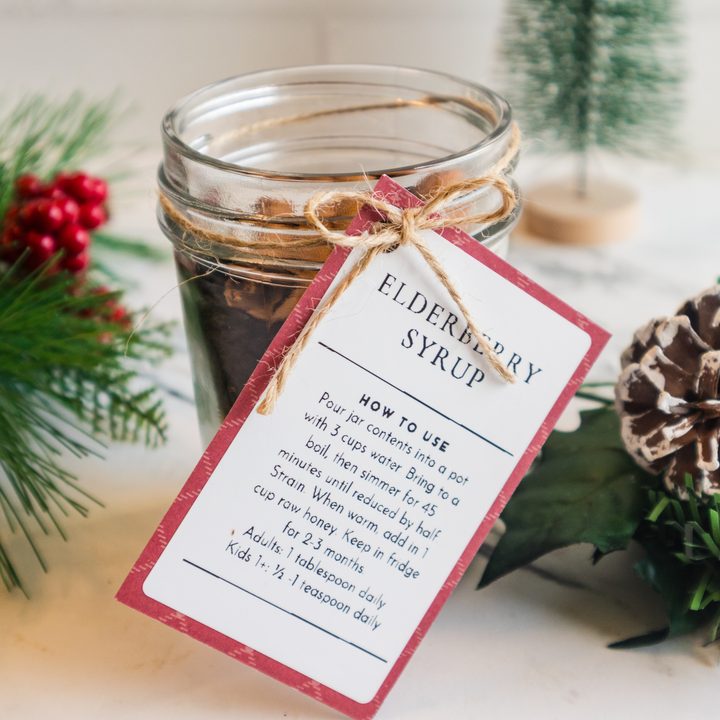
Elderberry Syrup Jar Gift
A layered dry herb gift jar containing all the ingredients needed to make elderberry syrup at home. The recipient uses the jar contents with water and raw honey to brew a warming, immune-supportive syrup.
Ingredients
- ½ cup dried organic elderberries
- 1 ½ teaspoons dried organic ginger root
- 1 teaspoon whole cloves
- 2 cinnamon sticks
- 3 cups water (added by recipient)
- ¾–1 cup raw honey (added by recipient)
Instructions
- Add the elderberries to a clean, dry jar (a half-pint jar works well). Add ½ first.
- Layer the ginger and cloves. Then add the rest of the elderberries and cinnamon sticks on top.
- Seal the jar and attach the instruction tag.
- To make the syrup: Pour the jar contents into a pot with 3 cups water.
- Bring to a boil, then simmer uncovered 40–45 minutes, until reduced by about half.
- Mash the berries, then strain and squeeze out all the liquid.
- Let cool until warm, then stir in ¾ cup raw honey.
- Pour into a clean jar and refrigerate. Keeps 2–3 months.
Notes
- Dosage: Adults 1 tablespoon daily; kids 1+: ½–1 teaspoon daily (check with your pediatrician); when under the weather, take every 2–3 hours.
- Add honey after the liquid cools to warm, not hot, to preserve its beneficial properties. Squeeze every last drop of liquid out of the berries when straining.
- Contains honey — not for babies under 12 months. Wide mouth mason jars show off the layers best. A square of fabric under the lid ring, twine, and a handwritten tag make a nice presentation.
- Multiple jars can be assembled in an assembly-line fashion; five or six jars can be made in under twenty minutes.
Final Thoughts
I’ve been making these as gifts for a few years now and they never get old. There’s something about giving someone the tools to make something nourishing themselves that feels more meaningful than just handing over a finished bottle.
It says “I think you can do this,” which I love 🙂
If you’re making a few of these DIY elderberry syrup gift jars at once for the holidays or a teachers’ appreciation moment, they batch together quickly. Set up a little assembly line and you can knock out five or six jars in under twenty minutes. Let me know if you try it!


