DIY Candle Making for Beginners

I still remember the first candle I ever made. It was a cozy fall afternoon, and I had gathered everything I thought I needed: a little jar, some beeswax, a few drops of essential oil, and a wick that kept tipping over.
The scent was faint, the wax cooled unevenly, and I’m pretty sure I spilled melted wax all over my kitchen counter. But I was so proud of myself!
That little candle was the start of something beautiful. It showed me that making things with my hands, even imperfectly, could be deeply satisfying. And more than that, it gave me a way to bring comfort and calm into my home with ingredients I trusted.
If you’ve been curious about making your own candles, I promise you don’t need perfection. Just a willingness to try.
Let’s walk through the basics of candle making, why it’s such a great beginner-friendly craft, and how you can make your candles both safe and beautifully scented. I’ve put together this candle making for beginners guide so you can feel confident when you make your candles too!

Why Make Your Own Candles?
Store-bought candles might be convenient, but they often come with hidden ingredients like synthetic fragrances, paraffin wax, and mystery dyes, all of which can be harmful for your health.
When you make your own, you get to choose everything that goes into them. That means you can:
- Avoid artificial scents and toxins
- Use essential oils you already love and trust
- Create meaningful gifts for friends and family
- Enjoy a calming, creative hobby that fits easily into a slow-living lifestyle
Candle making invites you to slow down. It’s a quiet, intentional craft that aligns beautifully with natural living.

Some of these links are affiliate links meaning if you purchase from these links, I will earn a commission at no extra cost to you. Everything I share is my own opinions and things I personally use and love. You can learn more by reviewing my disclosure. As an Amazon affiliate, I earn from qualifying purchases.
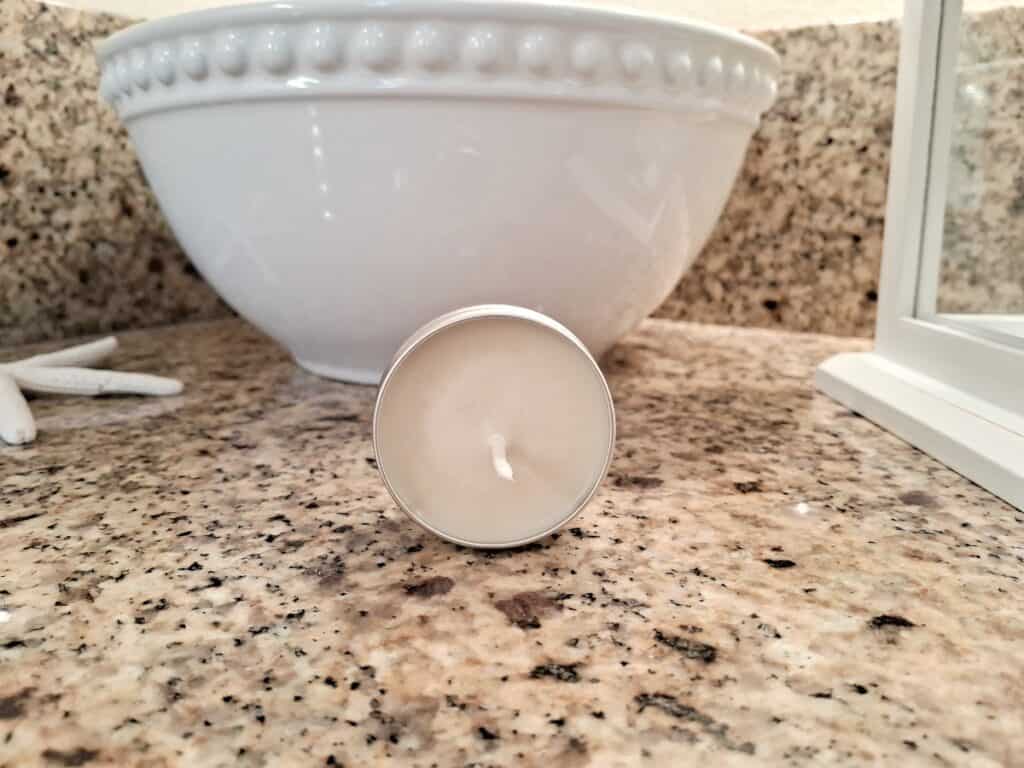
Basic Supplies You’ll Need
You don’t need anything fancy to get started.
Here’s a simple list of what you’ll need:
- Wax: Beeswax, soy wax, or coconut wax are beginner-friendly and clean-burning.
- Wicks: Choose the right size for your container. Cotton or wood wicks both work well.
- Containers: Small glass jars, metal tins, or heat-safe mugs all make great vessels.
- Essential oils: Lavender, citrus, cedarwood, peppermint…whatever brings you joy. (I personally love the Timber Blend!)
- Double boiler: A makeshift one with a pot and a glass bowl works fine.
- Thermometer: Helps with timing when to add essential oils.
- Wick holders or pencils: To keep your wick centered as the wax cools. Most places where you get your wicks, you’ll also get some wick holders.
Start small. Use what you have around the house where possible. Candle making doesn’t need to be expensive or overwhelming.
I personally love Simply Earth’s candle making kit. It gives you everything you need, from the wicks to the containers, wax, and essential oils, right in one box. Use code KATE10 to get 10% off!

What is Scent Throw?
This term is used with candles and basically just means how strong your candle smells.
A cold scent throw is how strong your candles smell when they are hard and a hot scent throw is the fragrance your candle gives when you are burning it.
Your candle can smell really good when it is hard but when you burn it, the smell disappears.
How to Make Your Candles Smell Stronger
One of the most common questions I hear is: Why doesn’t my candle smell as strong as I hoped? If that’s you, you’re not alone.
There are a few easy tweaks that can help:
- Use the right wax: Soy and coconut wax hold scent better than beeswax. Beeswax has a natural honey-like scent that can compete with essential oils, so if you’re using it, stick to stronger oils like cinnamon, clove, or rosemary.
Paraffin wax does hold in the smell better, but it is pretty toxic, as it contains some chemicals you don’t want to be exposed to [source]. - Add oils at the right temperature: If the wax is too hot, essential oils can evaporate. Aim to add them around 120-140°F (check the wax label for specifics).
- Use enough essential oil: You’ll typically want 30-40 drops per 8 oz of wax, depending on the oil’s strength and your personal preference.
- Cure your candles: Let them sit for 48 hours before lighting. This allows the scent to bind with the wax and intensify.
- Try essential oil blends: Blending oils can create a more layered, noticeable scent. Think lavender and lemon, or cedarwood and orange.
Don’t be afraid to experiment. Keep notes of what you like and what you’d tweak next time. Candle making is part science, part intuition.
Choosing the Right Essential Oils
Essential oils bring not just fragrance, but also mood and healing properties.
Here are some of my favorite essential oils for candles:
- Lavender: Calming, floral, perfect for bedtime or winding down
- Orange: Uplifting and cheerful, lovely for morning candles
- Peppermint: Energizing and clean, great for focus or winter blends
- Cedarwood: Grounding and earthy, pairs well with florals or spice
- Timber Blend: Woody and vanilla aroma, but not too masculine
- Love Blend: Floral that is very calming and smells amazing, my favorite blend by far!
Always choose pure, high-quality oils. Some essential oils don’t hold up well in heat, so blending them with more stable base notes can help.
You also will want to go for stronger essential oils (like cinnamon) as they will give off the most smell.

Common Candle-Making Mistakes (and How to Avoid Them)
Learning something new always comes with a few bumps. It took me quite some time to figure out candles.
Here are some gentle reminders to help your candles turn out better each time:
- Tunneling: This happens when the candle burns straight down the middle, leaving unmelted wax around the edges. It’s usually caused by blowing out the candle too soon on the first burn. Let it burn long enough to create a full melt pool across the top; this sets the “memory” for future burns.
- Sinkholes: If your candle caves in or develops a hole around the wick as it cools, it’s likely due to air pockets forming in the wax. To prevent this, pour your wax slowly and tap the container gently to release trapped air. You can also reheat and top off the candle after it sets, if needed.
I have had this problem most of the times. I usually wait until it is hard, and then pour more melted wax over the top to help cover it up. - Wick too small: If your flame is weak or keeps going out, the wick might not be wide enough for the container size or wax type. Try sizing up next time.
- Wax not sticking to jar: Seeing gaps between the wax and glass? Warm your containers before pouring the wax to help with adhesion.
- Fragrance fading: This often comes down to pouring the oils at too high a temperature or not using enough. Try adjusting both in your next batch and take notes on what works best.
Each mistake is just part of the learning. Even when a candle doesn’t turn out perfect, it still brings light, warmth, and a bit of handmade love to your space.
Pin This Post For Later:

Benefits of Natural Candle Ingredients
Natural waxes like beeswax and soy burn cleaner and longer than paraffin. They also support a healthier home, especially if you or your loved ones are sensitive to synthetic scents.
Essential oils offer gentle aromatherapy benefits. A lavender candle might help you sleep, while peppermint can clear your mind. And using simple containers, wicks, and ingredients means less waste and more intention.
Plus, there’s something deeply nourishing about making things with your hands. Especially things that light up a room.
Let yourself be a beginner. Let yourself mess up and glow anyway. And when you’re ready to try your first candle, here are some simple recipes to guide you:
DIY Candles

Light and delicate, floating candles are perfect for adding a soft, magical touch to bowls, centerpieces, or bathtime rituals.
They create a calming atmosphere that invites you to slow down and savor the present moment. I love how easy they are to make!

This grounding blend of Ho Wood, Amyris, Copaiba, and Vetiver feels like a warm hug at the end of a long day.
With its soft, woodsy scent and gentle energy, this candle brings a sense of calm and comfort to any room. It’s perfect for cozy evenings, prayer time, or simply winding down with a book in hand.

Rooted in old-fashioned wisdom, tallow candles are a beautiful way to honor the whole animal and create something useful from what might otherwise be discarded.
This recipe offers a clean, long-lasting burn with a rustic charm that feels timeless and grounding.

Soft and floral, this lavender-infused candle is perfect for bedtime routines or any time you need to slow down.
Infusing the wax adds a delicate, herbaceous note that pairs beautifully with its calming aroma. It’s simple, gentle, and deeply relaxing, and most importantly SAFE as no lavender flowers remain.

With its soft golden glow and natural honey-like scent, beeswax makes a candle that’s as beautiful as it is wholesome.
This recipe is toxin-free, long-burning, and perfect for anyone seeking a more traditional, heartfelt touch to their home lighting.

Classic and elegant, beeswax taper candles bring a timeless glow to dinner tables, quiet mornings, and moments of reflection.
Their natural scent and drip-free burn make them a beautiful choice for intentional living, whether you’re setting the mood for a meal or simply enjoying the peaceful flicker.

Fresh, bright, and practical, citronella candles are a summertime staple. This version uses essential oils and natural waxes to gently help keep bugs at bay, making it a perfect companion for evenings on the porch or backyard gatherings.

Soy wax is a lovely choice for beginners; clean burning, easy to work with, and it holds scent beautifully.
This simple recipe lets you experiment with your favorite essential oils while creating a candle that fits effortlessly into your natural lifestyle.

This candle captures the crisp, green scent of pine trees after a fresh rain. It’s ideal for bringing the outdoors in, especially during the winter months.
The scent is clean, comforting, and subtly invigorating, like a quiet walk through the woods. It is perfect for Christmas!

Warm cinnamon, clove, and sweet orange come together in this cozy fall favorite. It smells just like autumn baking in the oven and instantly makes a space feel inviting and nostalgic.
A must-try for sweater weather and crisp air lovers!
Final Thoughts
Candle making doesn’t have to be complicated. It can be as simple as melting wax, adding your favorite scent, and pouring it with love.
Whether you’re just dipping your toes in or planning to make gifts for everyone you know, this craft has a way of grounding and delighting at the same time.
So give it a try! Gather your materials and have fun learning as you go!


