DIY Hot Cocoa Soap Recipe

My daughter has been on a hot chocolate kick lately. Like, every single morning she asks for it, and I’ve started sneaking cacao powder into his cup instead of the sugary packets because that’s just who I am now haha.
But the funny part is that’s not even what inspired this DIY hot cocoa soap recipe! My grandma ALWAYS had hot cocoa for us whenever we stayed. And now, she is doing that for my kids too! Hot chocolate has always been something that brought me joy, because of her.
I’ve been making melt-and-pour soaps for years, mostly simple bars with herbs or essential oils, nothing fancy. This past year I’ve started trying to make more fancy soaps, like this floral one and a pink lemonade one too.
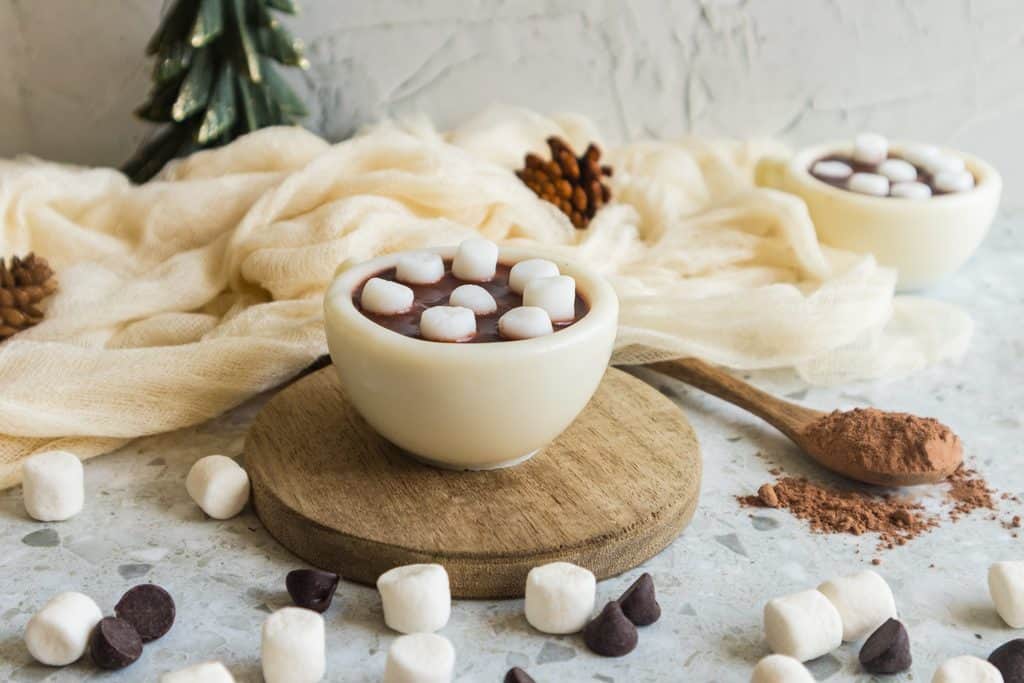
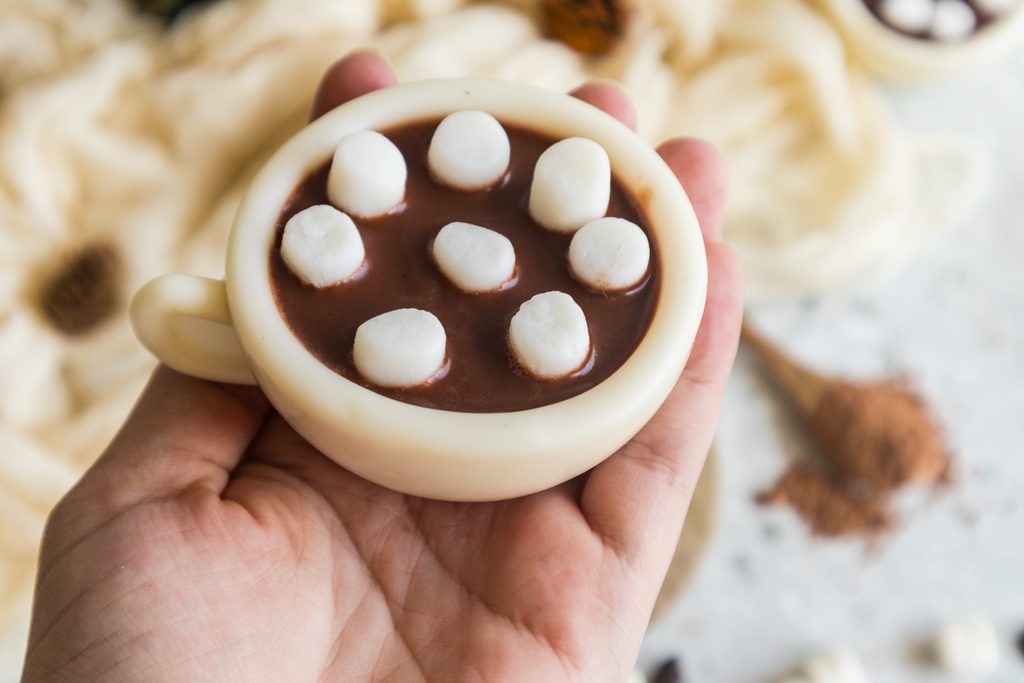
But this one is honestly the most fun project I’ve done in a while! It looks like a tiny mug of hot cocoa sitting on your sink, complete with marshmallows on top. It’s SO cute that my daughter immediately claimed the first one.
If you’ve never tried melt-and-pour soap making, this is a genuinely great starting point because it skips the lye-handling step entirely. You just melt, add, pour, and wait 🙂
Here’s everything you need to know to make it yourself! It’s PERFECT for sending as a DIY Christmas gift.
Soap Ingredients
Here is what I used to make this homemade hot chocolate soap:
- Cocoa powder is the star, and it’s more than just visual. It’s naturally rich in antioxidants and has a mild, earthy scent that actually lingers a little in the lather.
It gives the soap that deep brown color without any artificial dyes! - White melt and pour soap base is gentle, pre-made, and skips the complicated chemistry of cold process soap. It’s a great base for beginners and makes a creamy lather. For the “mug” layer you want it white so the contrast with the cocoa top really pops.
- The hot chocolate essential oil blend is optional but honestly transforms the whole experience. Sweet orange is bright and uplifting. Vanilla rounds everything out with warmth.
Cinnamon leaf and clove bud add that spiced-cocoa depth that actually makes this soap smell like something you want to wrap your hands around on a cold morning.
Just know that cinnamon and clove can be sensitizing for some skin types, so keep the amounts in a small range.
Pin This Post For Later:
Some of these links are affiliate links meaning if you purchase from these links, I will earn a commission at no extra cost to you. Everything I share is my own opinions and things I personally use and love. You can learn more by reviewing my disclosure. As an Amazon affiliate, I earn from qualifying purchases.
DIY Hot Cocoa Soap Recipe
Makes: 1 to 2 soaps if using the same mold
Ingredients
- 1 lb white melt-and-pour soap base
- 1 tablespoon cocoa powder
- 3/4 teaspoon essential oils: hot cocoa blend, or DIY blend: 30 drops sweet orange, 20 drops vanilla, 15 drops cinnamon leaf, 10 drops clove bud (optional)
- Mug soap mold
- Marshmallow soap mold

Instructions
Melt the white soap base.
Pour into the mug mold, filling it to form the mug shape.
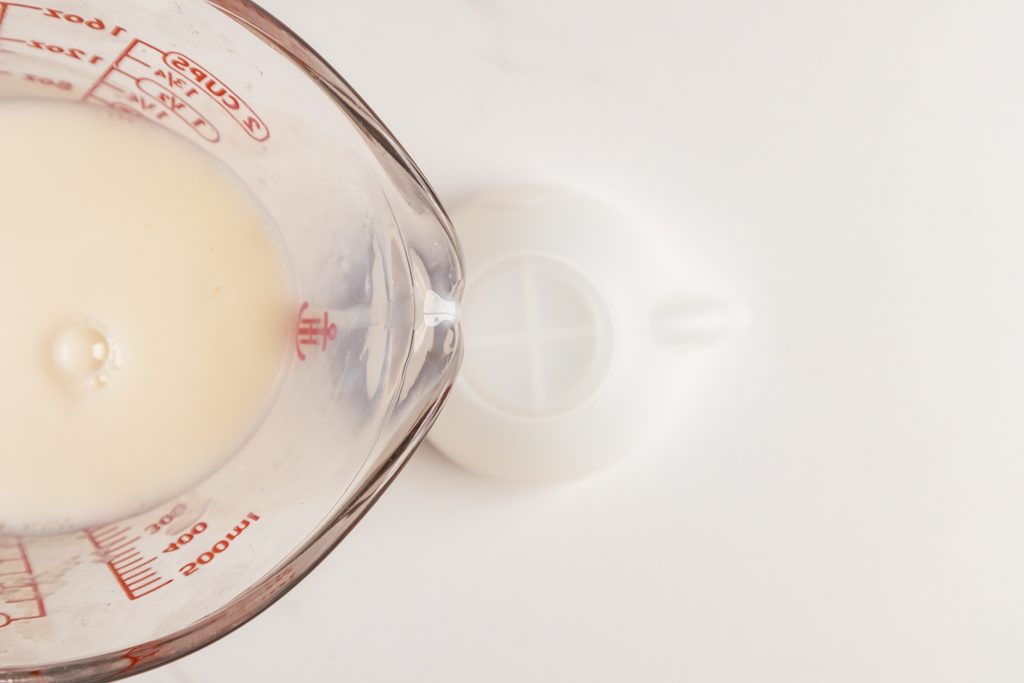
Let the white mug soap fully set and harden. Then unmold.
Make the marshmallow pieces using the marshmallow soap mold; set aside.
Melt the soap base for the cocoa layer.
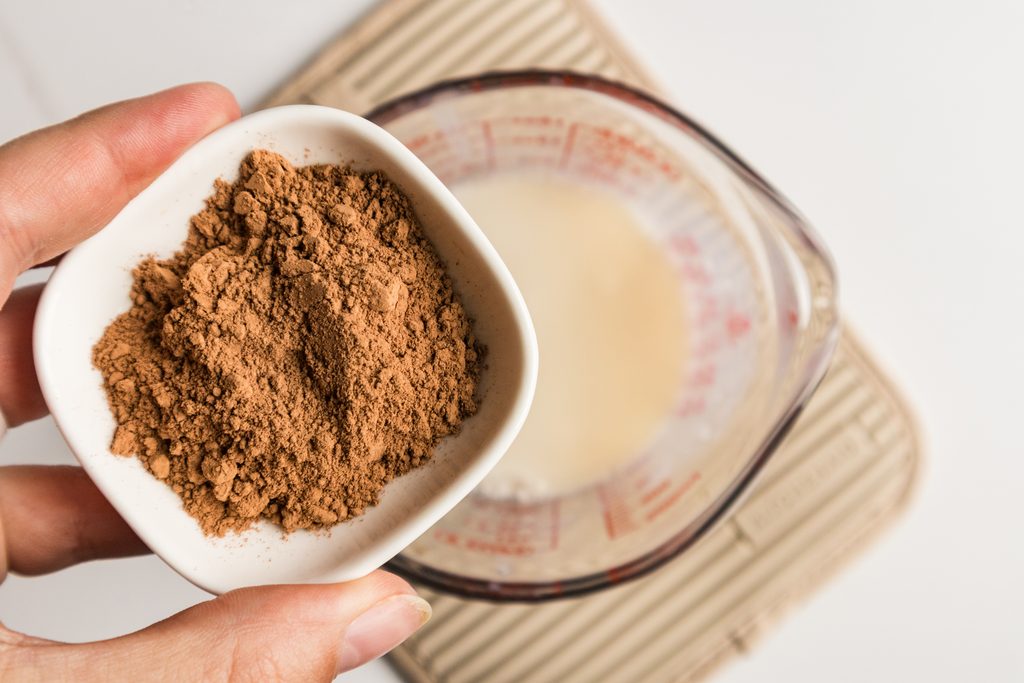
Add cocoa powder and stir until fully incorporated.
Let the cocoa soap cool to 135°F.
Add essential oils once at temperature.
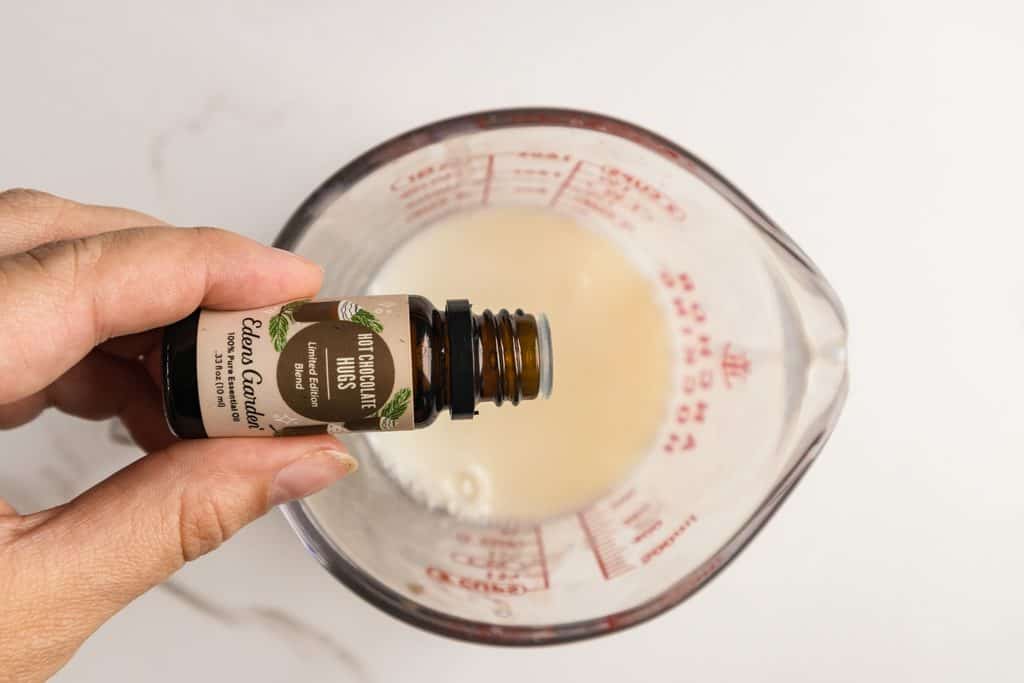
Pour the cocoa soap on top of the set white mug soap, filling it like it’s full of hot chocolate. Don’t fill the mold entirely!

Let the cocoa layer harden so the marshmallows can nestle in and stick. Place the marshmallow pieces on top.
Use a small amount of melted cocoa soap to “glue” the marshmallows in place.
Let everything fully harden before using.
How to Use It
Use it just like any bar soap, working up a lather with warm water. Because of the layered construction, treat it gently at first so the cocoa and mug layers stay bonded.
A soap dish that drains well is ESSENTIAL here since standing water is the enemy of melt-and-pour soap and will make it soft and goopy fast!

Store extras wrapped in plastic wrap or in an airtight container to preserve the scent. These make beautiful gifts wrapped in parchment with a little twine.
Skip the cinnamon and clove if you’re making these for someone with sensitive skin, and just lean into the sweet orange and vanilla instead. Keep away from little ones who might mistake it for the real thing!!

DIY Hot Cocoa Soap
A melt-and-pour soap project that creates a bar resembling a tiny mug of hot cocoa, complete with marshmallow pieces on top. It uses cocoa powder for color and scent, layered over a white soap base mug shape.
Ingredients
- 1 lb white melt-and-pour soap base (for the mug)
- Melt-and-pour soap base for the "cocoa" layer
- 1 tablespoon cocoa powder
- 3/4 teaspoon essential oils: hot cocoa blend, or DIY blend: 30 drops sweet orange, 20 drops vanilla, 15 drops cinnamon leaf, 10 drops clove bud (optional)
- Mug soap mold
- Marshmallow soap mold
Instructions
- Melt the white soap base.
- Pour into the mug mold, filling it to form the mug shape.
- Let the white mug soap fully set and harden. Then unmold.
- Make the marshmallow pieces using the marshmallow soap mold; set aside.
- Melt the soap base for the cocoa layer.
- Add cocoa powder and stir until fully incorporated.
- Let the cocoa soap cool to 135°F.
- Add essential oils once at temperature.
- Pour the cocoa soap on top of the set white mug soap, filling it like it's full of hot chocolate. Don't fill the mold entirely.
- Let the cocoa layer harden so the marshmallows can nestle in and stick.
- Place the marshmallow pieces on top.
- Use a small amount of melted cocoa soap to "glue" the marshmallows in place.
- Let everything fully harden before using.
Notes
- Use a soap dish that drains well, as standing water will make melt-and-pour soap soft and goopy.
- Store extras wrapped in plastic wrap or in an airtight container to preserve the scent.
- Skip the cinnamon and clove for those with sensitive skin and lean into sweet orange and vanilla instead. Keep away from children who might mistake it for real hot cocoa.
Final Thoughts
I made these homemade hot cocoa soaps for holiday gifts this year! Something about a handmade soap that looks this good sitting on a bathroom shelf feels genuinely special in a way that a store-bought gift just doesn’t.
Let me know if you make one! I’d love to see how they turn out 🙂


