DIY Arnica Salve Recipe for Bruises and Sore Muscles

A few summers ago, I spent the entire day on my feet, carrying a baby and running around more than I should have. By the end of the day, my shoulders and lower back were done!
That’s when I reached for my DIY arnica salve. I remember thinking, “why didn’t I start using this sooner?!”
If you’ve never tried arnica before, it’s one of those simple herbal remedies that can make a really big difference. And the best part is, you can make it yourself at home!
I believe an arnica cream should be one of the natural remedies everyone has in their home. It is easy to make but very effective!
You don’t need anything complicated, and once you have it, it’s something you’ll keep reaching for. Here is my simple homemade arnica salve recipe fir sire muscles and bruises that need some herbal support.
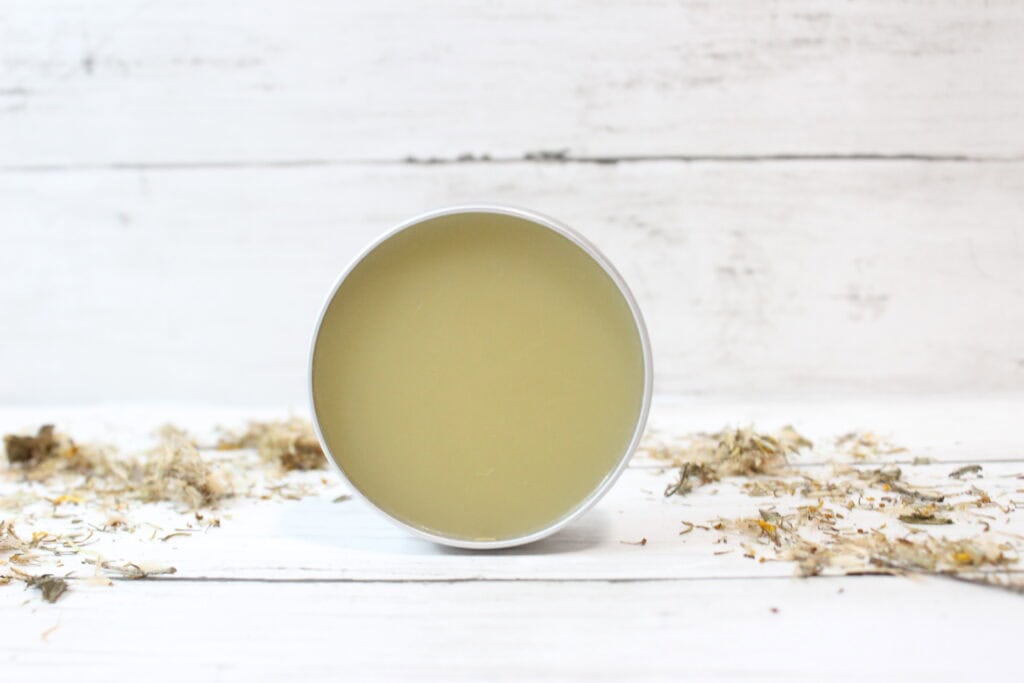
Herbal Benefits of Arnica
If you’re new to herbs, don’t worry, arnica is a really simple one to understand!
Arnica is a small yellow flower, often called Arnica montana, that has been used for generations to help with pain and swelling. It’s one of those herbs people keep coming back to because it works so well, especially when used on the skin.
You’ll usually see it in salves, oils, creams, or even an arnica gel, and that’s the best way to use it.
Here are some of the benefits to using arnica:
- Helps soothe muscle aches: This is probably the most common use: for sore muscles. If you’ve had a long day or overdid it a little, arnica can help your muscles relax and recover.
- Reduces bruising and swelling: Arnica is well known for helping bruises heal faster. It supports circulation in that area and can help bring down swelling. Something everyone needs in their medicine cabinet!
- Supports joint comfort: If you deal with stiff or achy joints, applying arnica salve can help ease some of that discomfort. Some with arthritis find help with relief too.
- Calms inflammation: A lot of pain in the body comes from inflammation. Arnica works by helping calm that response, which is why it’s so helpful for so many things.
- Soothes minor skin irritation: It can also be used on things like bug bites, minor injuries, or small irritated areas (as long as the skin isn’t broken).
The good news is, you don’t need anything complicated to start using it. Once you have a simple salve on hand, you’ll start to notice just how often you reach for it.
Herbs are amazing that way!
I am not a doctor/physician, nurse, or any other medical professional. This is for informational purposes only. Always seek the advice of your physician or other qualified healthcare provider with any questions you may have regarding a medical condition or treatment.
Pin This Post For Later:

Some of these links are affiliate links meaning if you purchase from these links, I will earn a commission at no extra cost to you. Everything I share is my own opinions and things I personally use and love. You can learn more by reviewing my disclosure. As an Amazon affiliate, I earn from qualifying purchases.
Easy Arnica Salve Recipe
One of my favorite things about this recipe is how simple it is! You don’t need anything fancy, and once you’ve made it once, it becomes second nature.
This makes around 6 ounces.
Ingredients
- ½ cup arnica
- 1 cup avocado oil
- 2 tablespoons beeswax pellets
- 3 2 oz tins
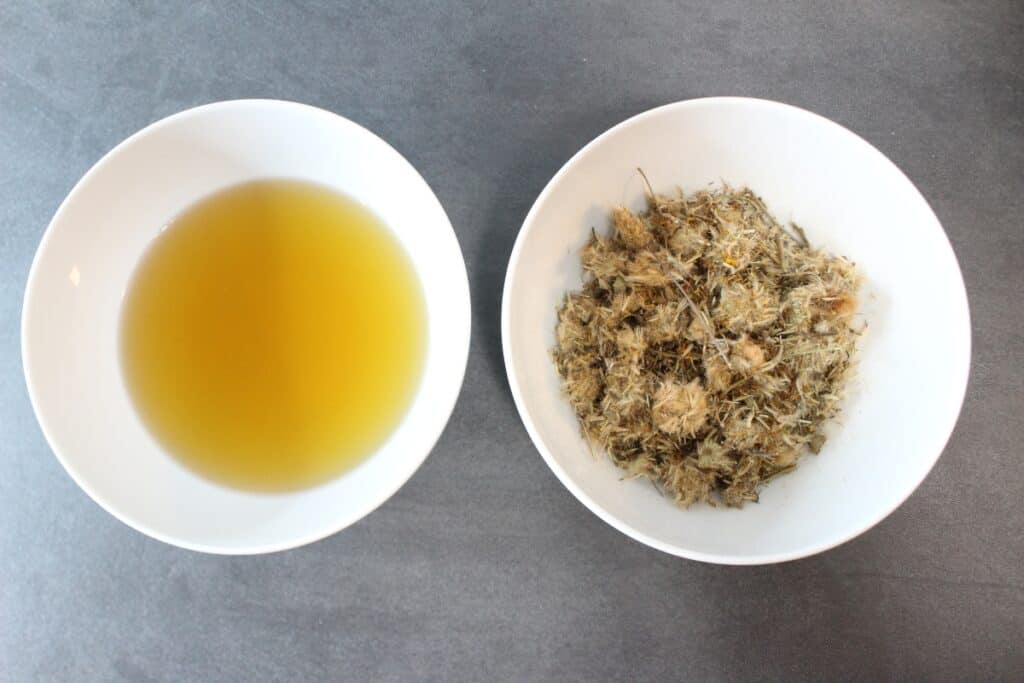
Instructions
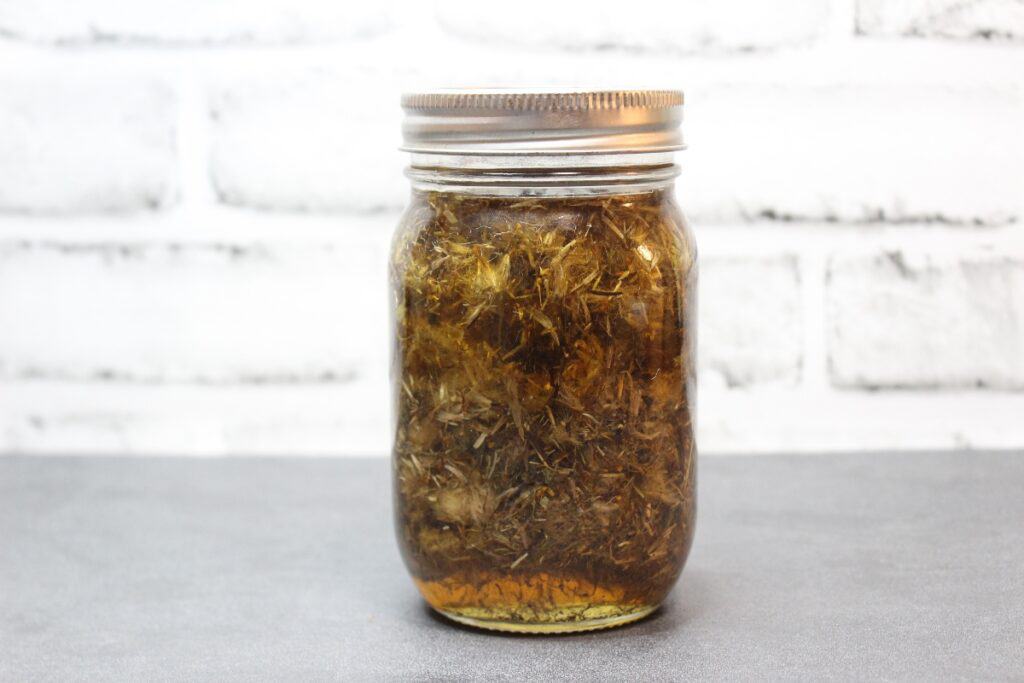
Add arnica flowers into a glass jar. Add the avocado oil into the glass jar, making sure the flowers are completely covered.
Put lid on jar and put over low heat, the lowest setting, for around 6 to 8 hours, stirring occasionally. Make sure the mixture doesn’t boil or simmer, just have it on a very low heat.
Alternatively, you can do a slower method and just keep stored in a dark area for 4-6 weeks. Strain it through a cheesecloth or fine-mesh strainer into a clean bowl.
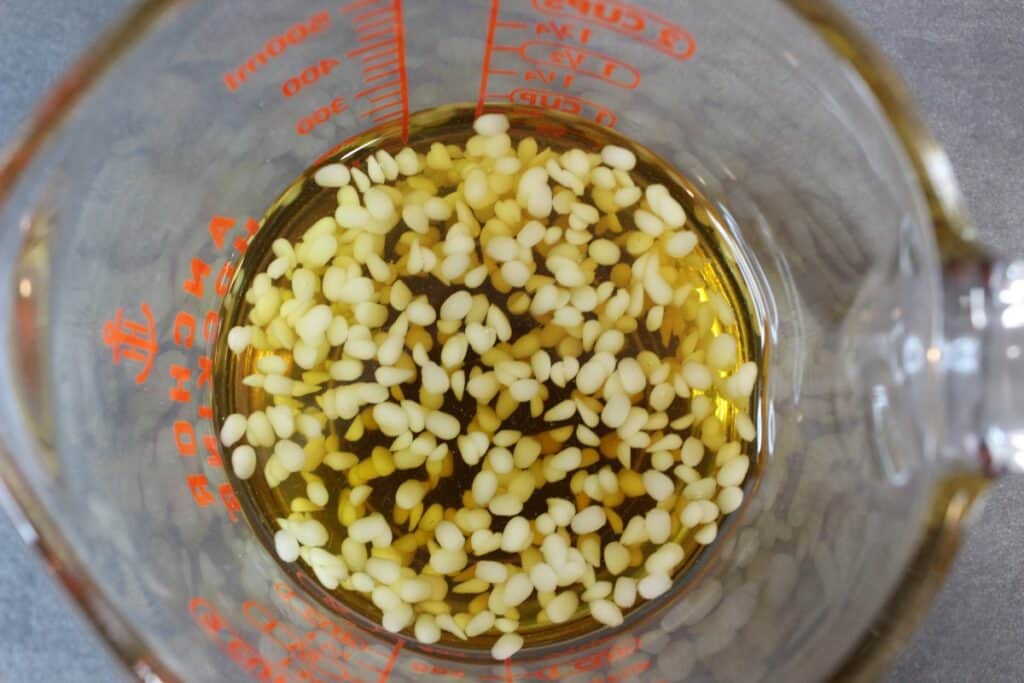
Add your infused arnica oil to a double boiler or heat-safe bowl. Stir in the beeswax pellets and let them melt completely.
Once melted, remove from heat and carefully pour into your tins or jars.
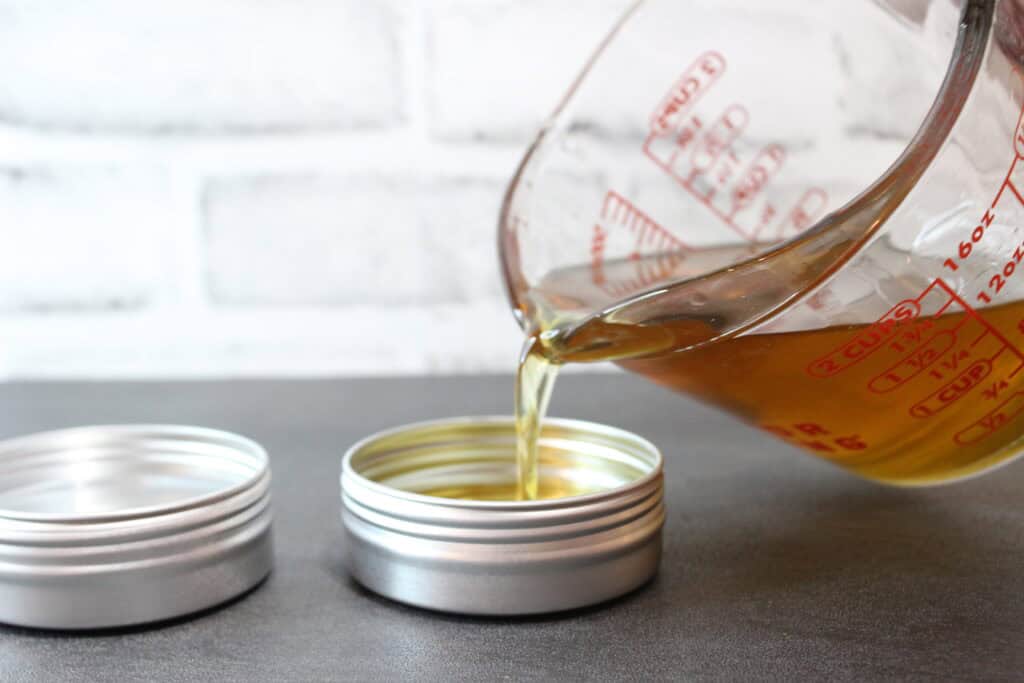
Let it cool completely before adding lids. That’s it! It comes together really quickly.
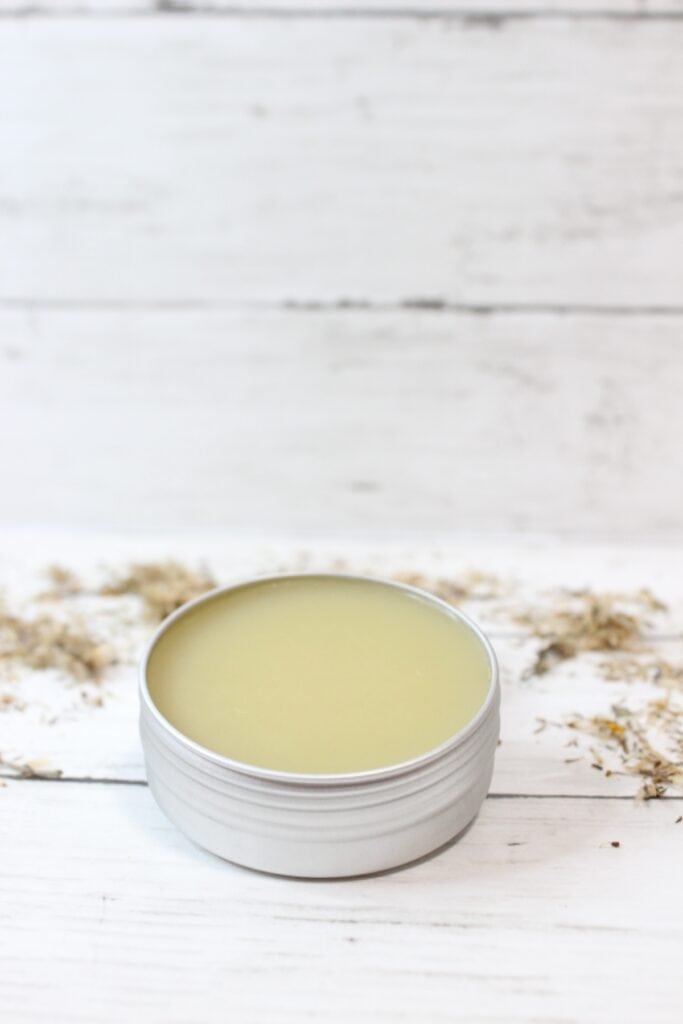
Notes
- This recipe yields approximately 6 ounces. I used 3 2-ounce tins, but 1-ounce tins are great too!
- Shelf Life: The salve can be stored in a cool, dry place for up to a year. You don’t need a natural preservative as there is no water in this recipe. You also don’t need to keep it in the fridge unless you are living in a hot environment. If you wanted to, you could add vitamin e oil; not a preservative but can help.
- I used avocado oil but any carrier oil will work like olive oil, jojoba oil, sweet almond oil, etc.
- You can add essential oils to make it become a stronger pain salve. Or, you can check out this DIY pain cream with essential oils.

How to Use Arnica Salve
To use, just apply a small amount to the area and gently massage it into your unbroken skin. That’s it!
I usually reach for it:
- after a long day
- when my muscles feel sore. It’s my favorite for muscle pain due to its anti-inflammatory properties.
- on bumps and bruises
- when something feels swollen or tight
You can use it a few times a day as needed!
Safety Notes
A few simple things to keep in mind:
- Only use on closed skin, not open wounds!!
- Do a patch test if you have sensitive skin
- Avoid using continuously for long periods (take breaks after a few weeks).

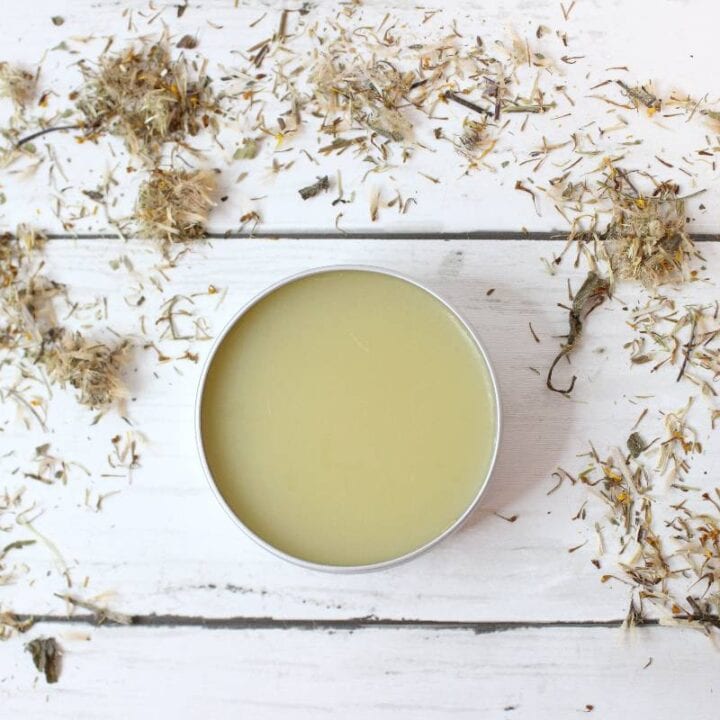
Arnica Salve
Materials
- ½ cup arnica
- 1 cup avocado oil
- 2 tablespoons beeswax pellets
- 3 2 oz tins
Instructions
- Add arnica flowers into a glass jar.
- Add the avocado oil into the glass jar, making sure the flowers are completely covered.
- Put lid on jar and put over low heat for around 6 to 8 hours, stirring occasionally. Make sure the mixture doesn't boil or simmer, just have it on a very low heat.
- Alternatively, you can do a slower method and just keep stored in a dark area for 6 weeks. Strain it through a cheesecloth or fine-mesh strainer into a clean bowl.
- Discard the arnica flowers and return the infused oil to the double boiler or heat-proof bowl. Add the beeswax pellets to the infused oil and stir until the beeswax has melted completely.
- Remove the mixture from heat and pour the mixture into the tins. Let it cool completely before putting the lids on and using.
- To use the arnica salve, simply apply a small amount to the affected area and massage it gently into the skin.
Notes
- This recipe yields approximately 3 2oz tins.
- The salve can be stored in a cool, dry place for up to a year.
- I used avocado oil but any carrier oil will work.
- You can add essential oils to make it become a stronger pain salve.
- You can also add in vitamin e oil to help preserve the salve as well.
Final Thoughts
I used to think I had to buy everything when it came to natural remedies. But learning I could make something like this myself really changed things for me!
It’s not just about saving money, it’s about feeling confident in what you’re using and knowing exactly what’s in it.
If you’re new to herbs, don’t worry. This is such an easy place to start! And once you make it, I have a feeling it’s going to become one of those things you always keep nearby or in your purse 🙂
Popular Salve Recipes


From dry skin to sore muscles, 22 Herbal Salves Recipes teaches you how to make natural remedies at home!


